



Free written scope consultation - allowances, timeline, and change-order rules on paper before a single trade is scheduled
Kitchen Remodeling Stopped Working
When a kitchen remodel stops working, it almost always means one thing: something in the project was not finished, was installed incorrectly, or has failed because of a flaw in the original work. This is not a mystery to live with. It is a construction problem, and construction problems have a repair path.
The phrase “stopped working” can mean a drawer that won’t close, a countertop that’s separating at the seam, a cabinet door hanging at the wrong angle, water showing up under the sink after a new fixture was installed, or tile grout cracking along a line that should be solid. Each of those symptoms points to a specific failure in the remodel, not a general bad outcome. The sections below walk through the most common causes so you can put a name to what you’re looking at before anyone arrives.
What’s Happening
A kitchen remodel that has stopped working correctly has almost always experienced a failure in one of four places: cabinet installation, countertop fabrication or seaming, plumbing rough-in, or finish work like tile and trim. These are not random failures. Each one has a tell, and you can usually identify which category you’re dealing with by looking at where the problem is showing up and what it looks like.
Remodeling failures are not always visible right away. Some show up within weeks of the job finishing, others take a season or two. A cabinet box that was not level from the start will let you know eventually through doors that won’t latch. A countertop seam that was not properly supported underneath will crack when the substrate shifts. A plumbing connection that was hand-tightened instead of properly set will seep slowly until it soaks the cabinet floor. None of this is your fault, and none of it is a maintenance issue. It’s a workmanship issue, and the fix starts with diagnosing it correctly.
Styles & brands we work with



Why It Happens
Cabinet Installation Problems
Cabinets that were not shimmed and leveled properly before mounting will rack over time, meaning the box twists slightly out of square. You’ll see this as doors that won’t close flush, drawers that bind on one side, or a visible gap between the door face and the cabinet frame. Run your hand along the top of the cabinet run and look across the face frames – if the doors don’t line up in a straight plane, the boxes weren’t set correctly at install.
Countertop Seam or Edge Failure
Stone and quartz countertops are fabricated in sections and joined at seams with adhesive and seam clips. When the substrate underneath (usually plywood) wasn’t secured properly, or when the seam wasn’t supported across its full length, the joint cracks or separates. You’ll see a visible line, a height difference between the two slabs, or a dark stain that means water is getting in. Brands like Cambria and Caesarstone hold up well when installed correctly – when they’re failing, the installation is usually the reason, not the material.
Plumbing Rough-In or Fixture Connection Issues
Safety note: If you see water actively dripping or pooling under the sink, stop using the fixture immediately and open the cabinet to assess. Do not attempt to re-tighten supply line connections at the shut-off valve if you are not certain which valve controls that line. Gas lines to a range should never be inspected by anyone other than a licensed plumber or gas technician. If you smell gas, leave the kitchen, do not operate any switches, and call your gas utility from outside the home before anything else.
Plumbing failures after a kitchen remodel fall into two groups: slow leaks at compression fittings or supply lines, and drain connections that weren’t properly glued or fitted. A slow leak shows up as a soft cabinet floor, a musty smell, or a water stain on the cabinet interior. A drain connection problem usually makes itself known with water around the garbage disposal or P-trap after every use. Kohler and Moen fixtures installed by a qualified technician with properly rated supply lines should not leak – if they are, the connection, not the fixture, is the issue.
Tile, Grout, or Finish Work Failure
Backsplash tile and floor tile that were set without the right mortar, without adequate expansion space at edges, or over a substrate that wasn’t rigid enough will crack or separate as the house moves seasonally. Grout lines that are crumbling or cracking in a consistent pattern – especially at the perimeter where tile meets cabinet or countertop – usually mean the installer didn’t account for movement joints. A hairline crack across a single tile points to impact. A running crack across multiple tiles or along a grout line points to a substrate or installation problem.
What to Do Right Now
- Photograph everything before touching it. Take photos of the failure from multiple angles and distances. If there’s water, photograph the extent of it. These images help a technician assess the scope before arriving and prevent any disagreement about what was present at the time of the call.
- If there’s water under the sink, stop using the sink. Shut the supply valves (the oval handles behind or under the cabinet – turn them clockwise to close) and don’t run water until the connection has been inspected. The longer a slow leak runs, the more damage the cabinet box and subfloor take on.
- Do not re-hang or re-adjust cabinet doors yourself. Cabinet hinge adjustment looks simple, but resetting a racked box requires re-shimming and re-fastening into studs. Adjusting hinges on a box that isn’t level will not fix the root problem and may strip the hinge mounting points.
- Do not apply caulk or sealant to a failing countertop seam. It will mask the problem for a short time and make proper repair harder. The seam needs to be re-bonded and supported from below – surface caulk is not a fix.
- If you smell gas anywhere near the range, do not investigate it yourself. Leave the house, do not operate any switches or appliances, and call your gas utility’s emergency line from outside. This is a utility emergency, not a remodeling call.
See the difference
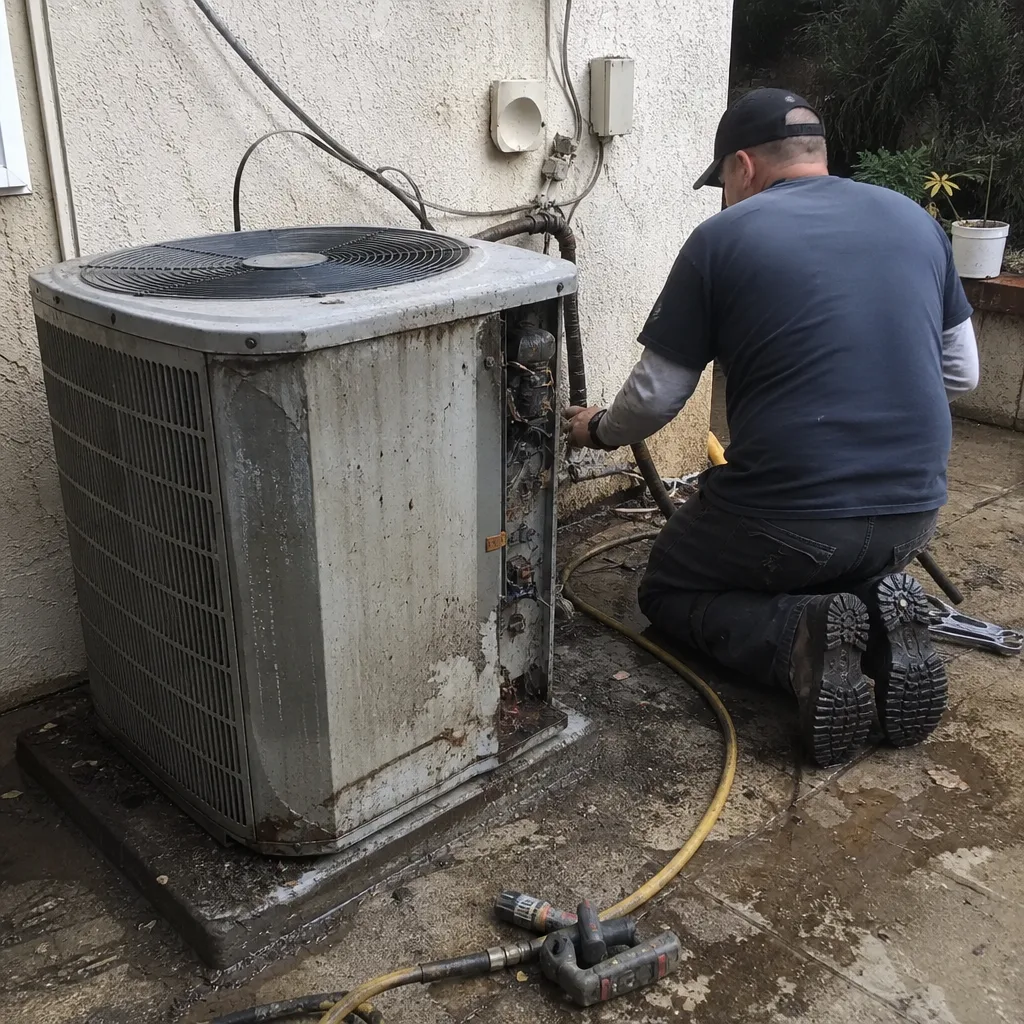 Before
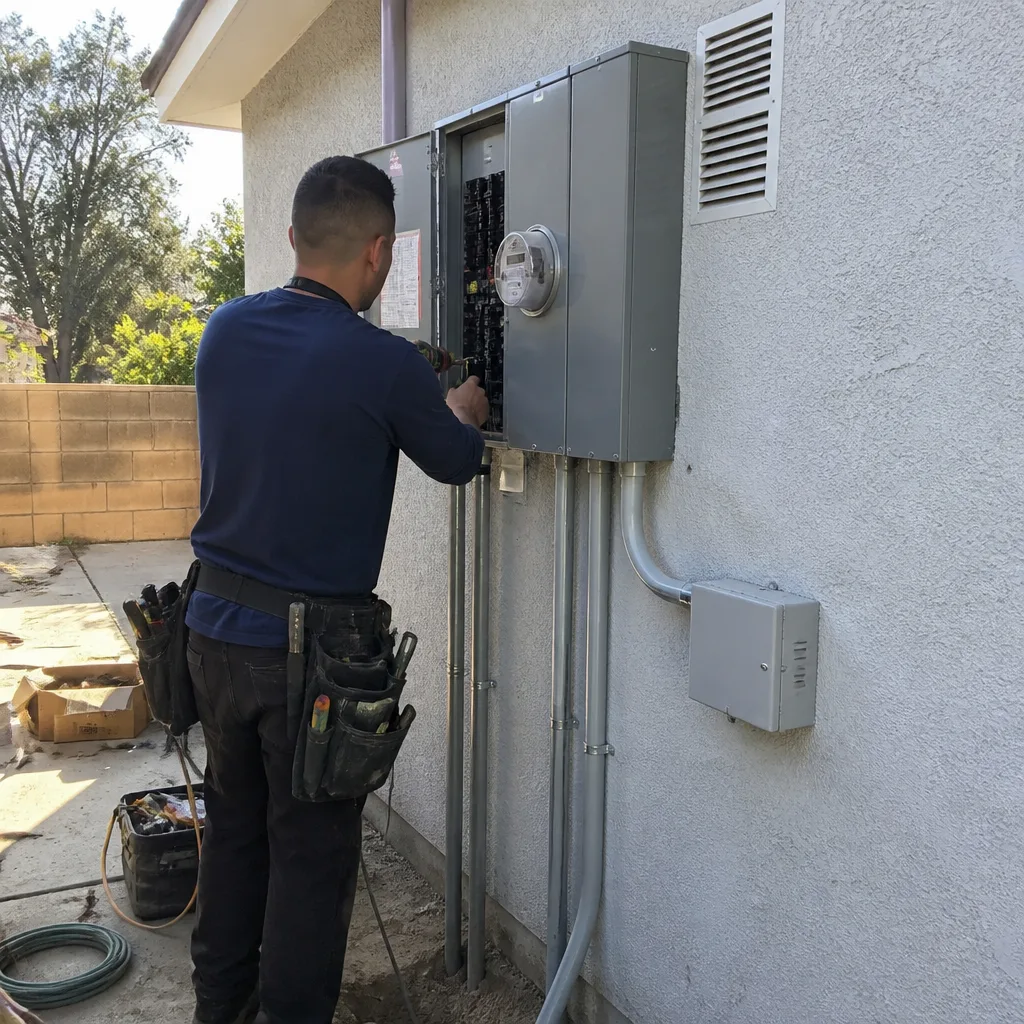 After
After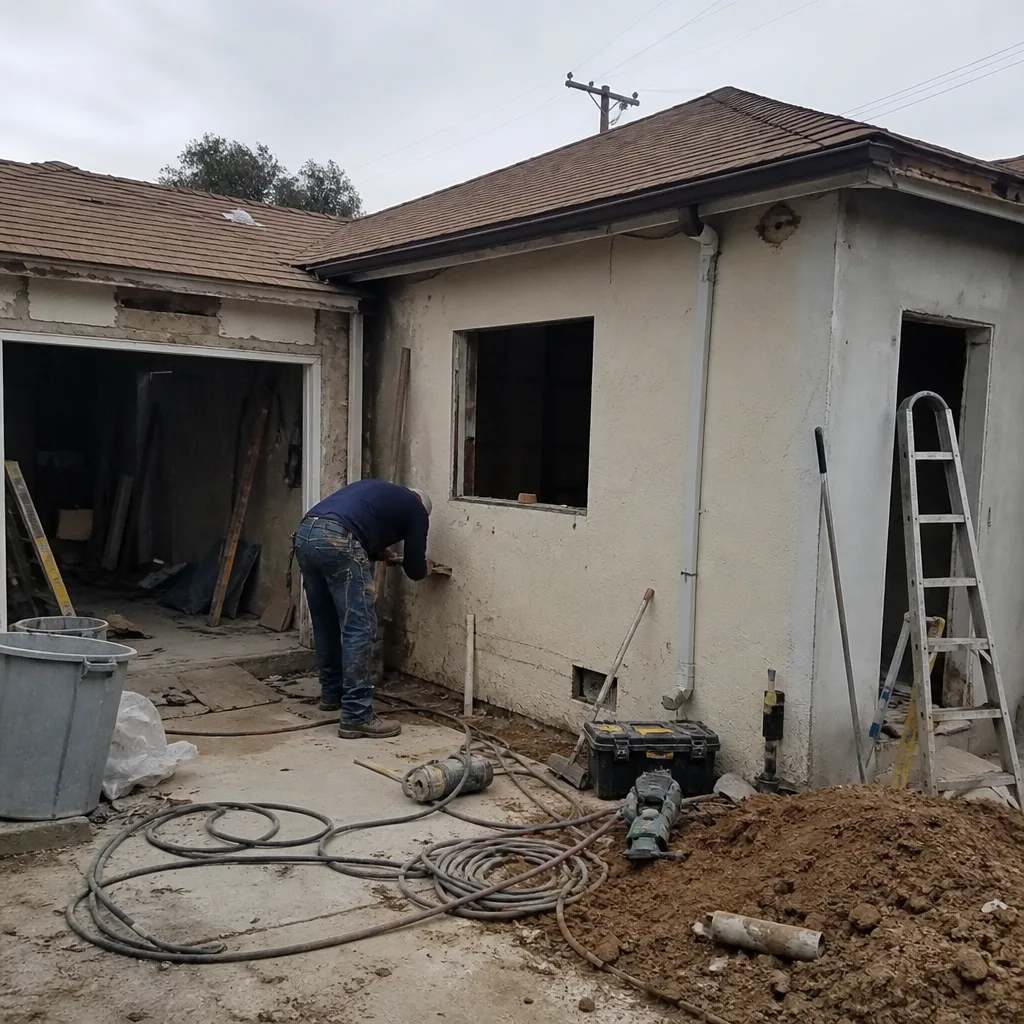 Before
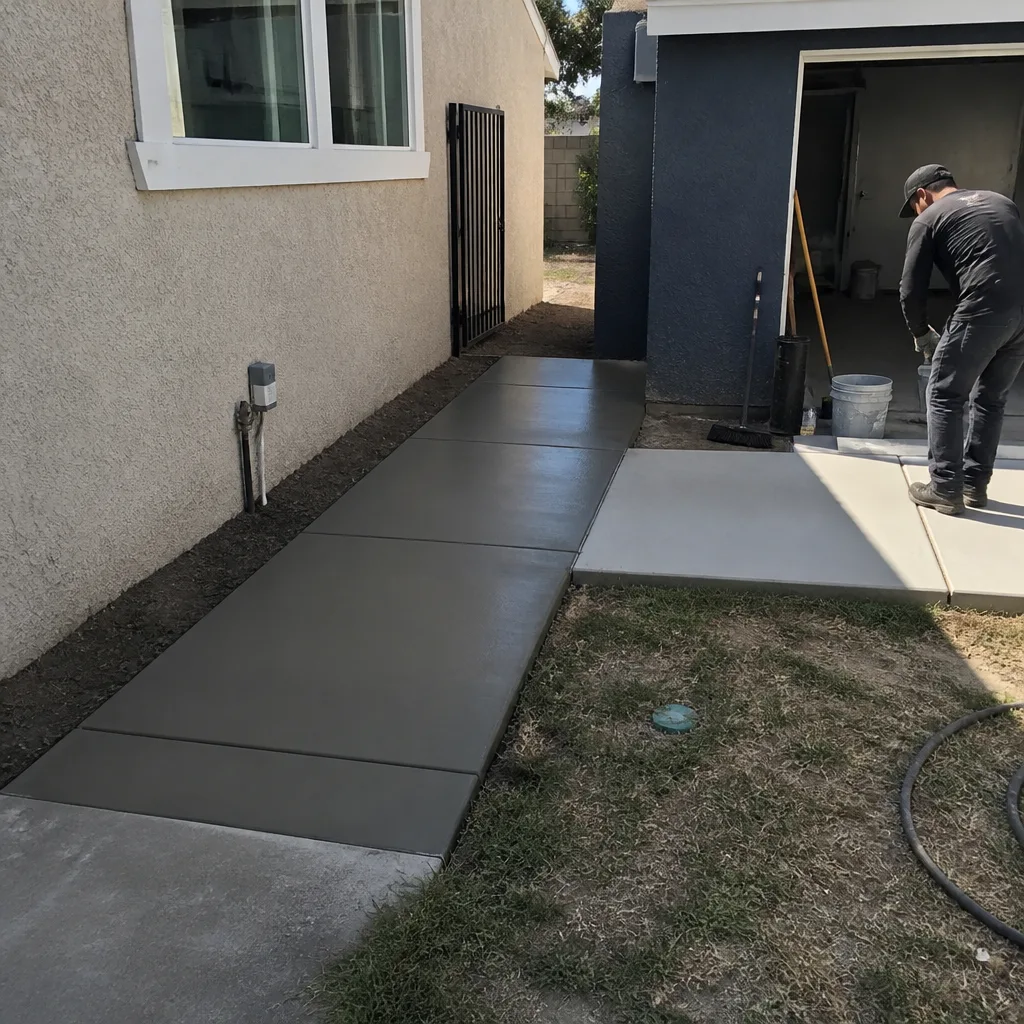 After
After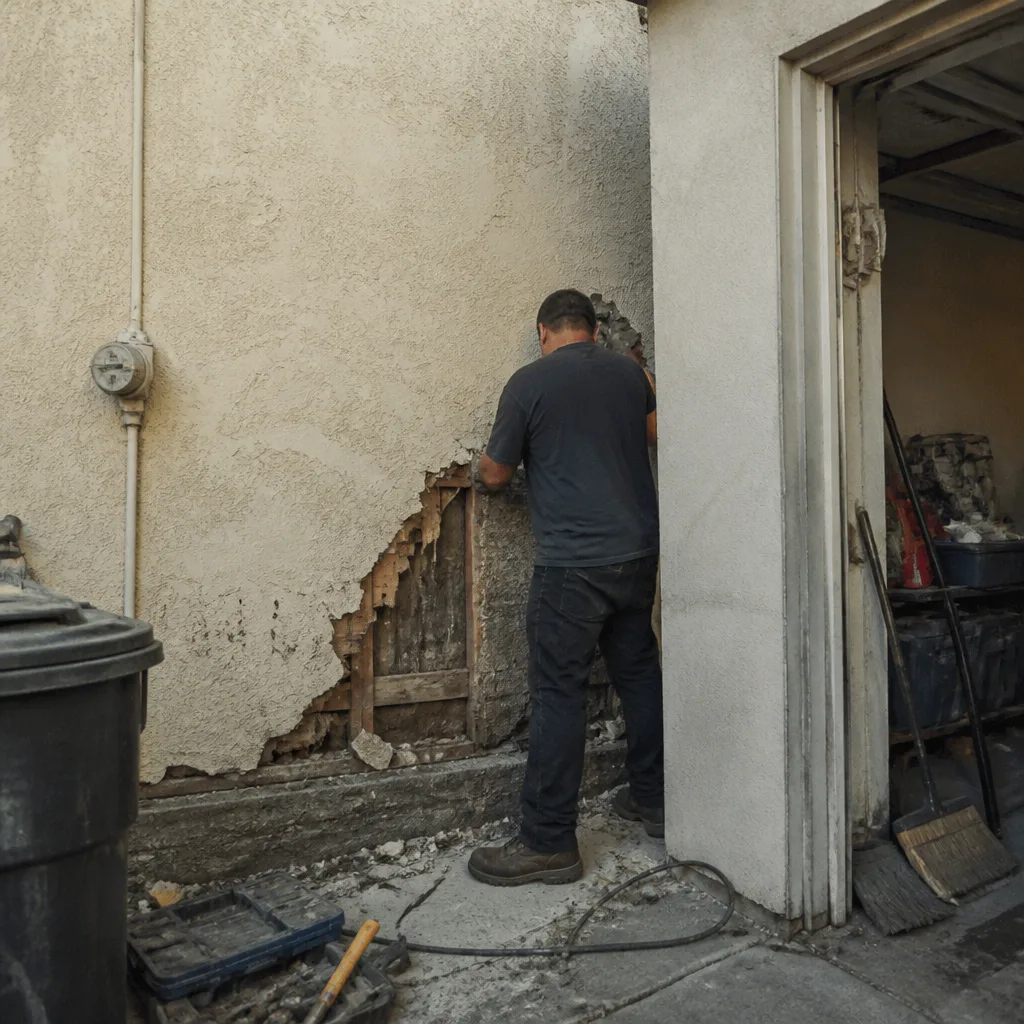 Before
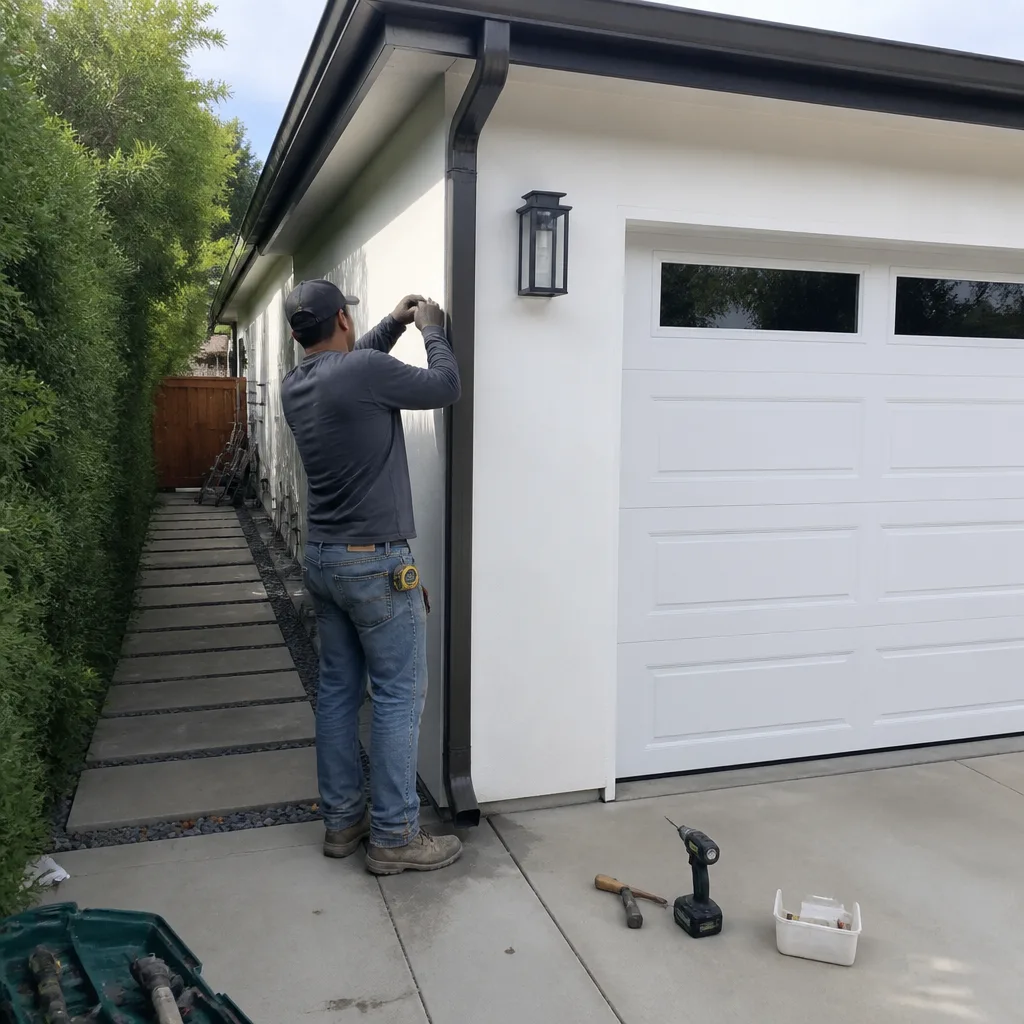 After
AfterHow We Fix It
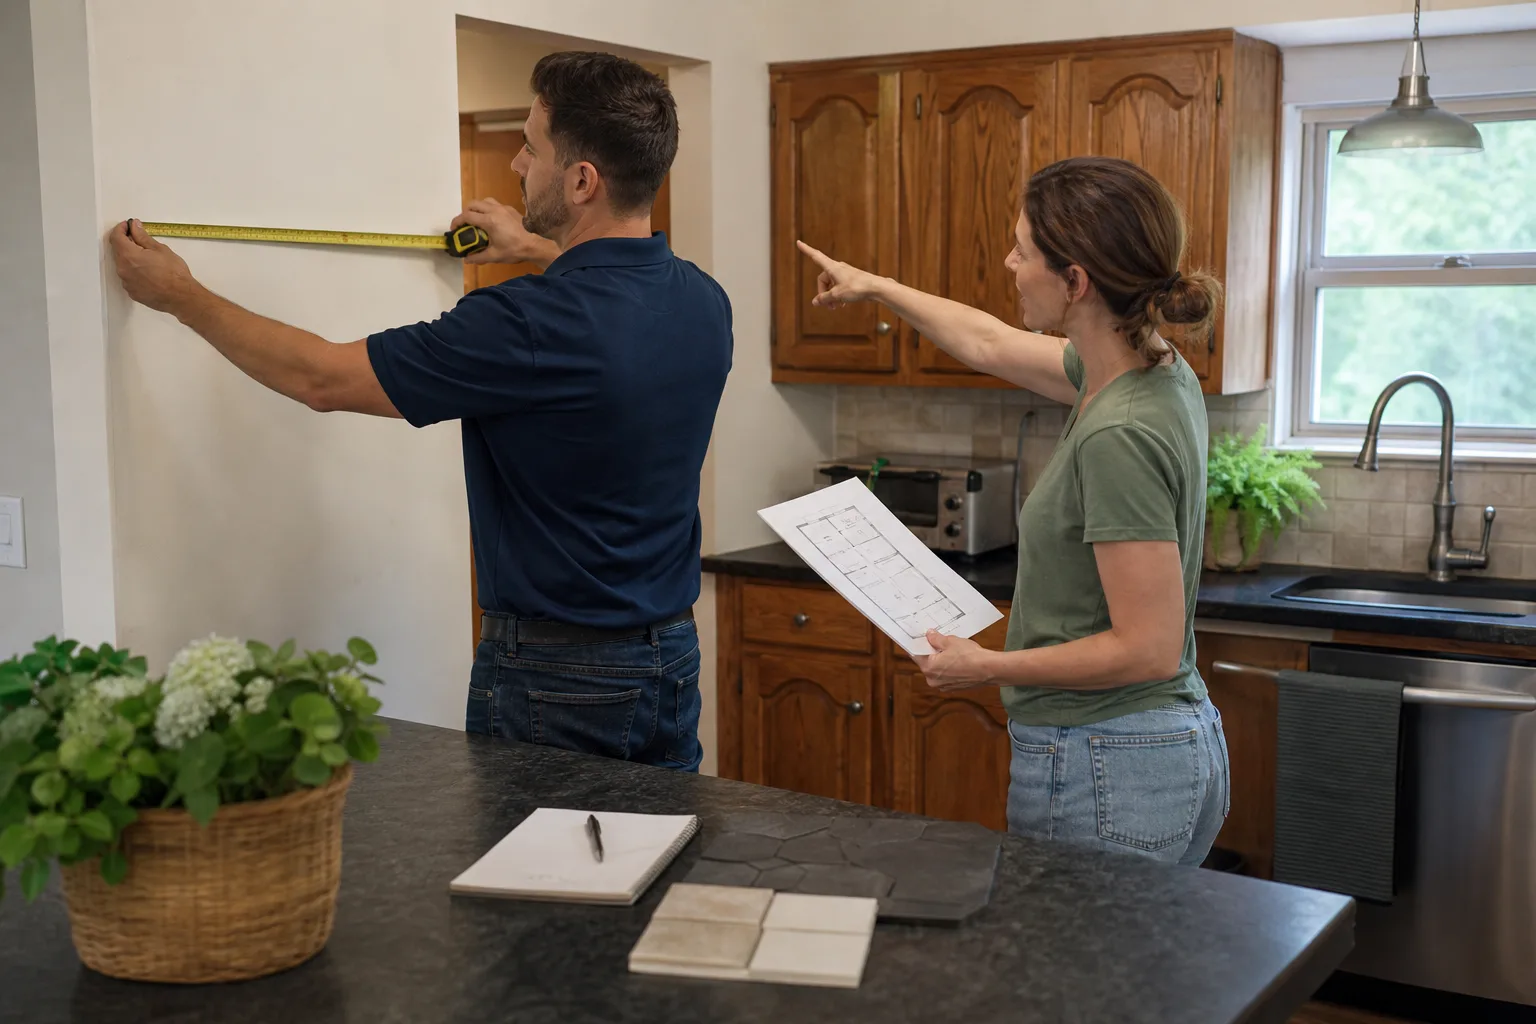
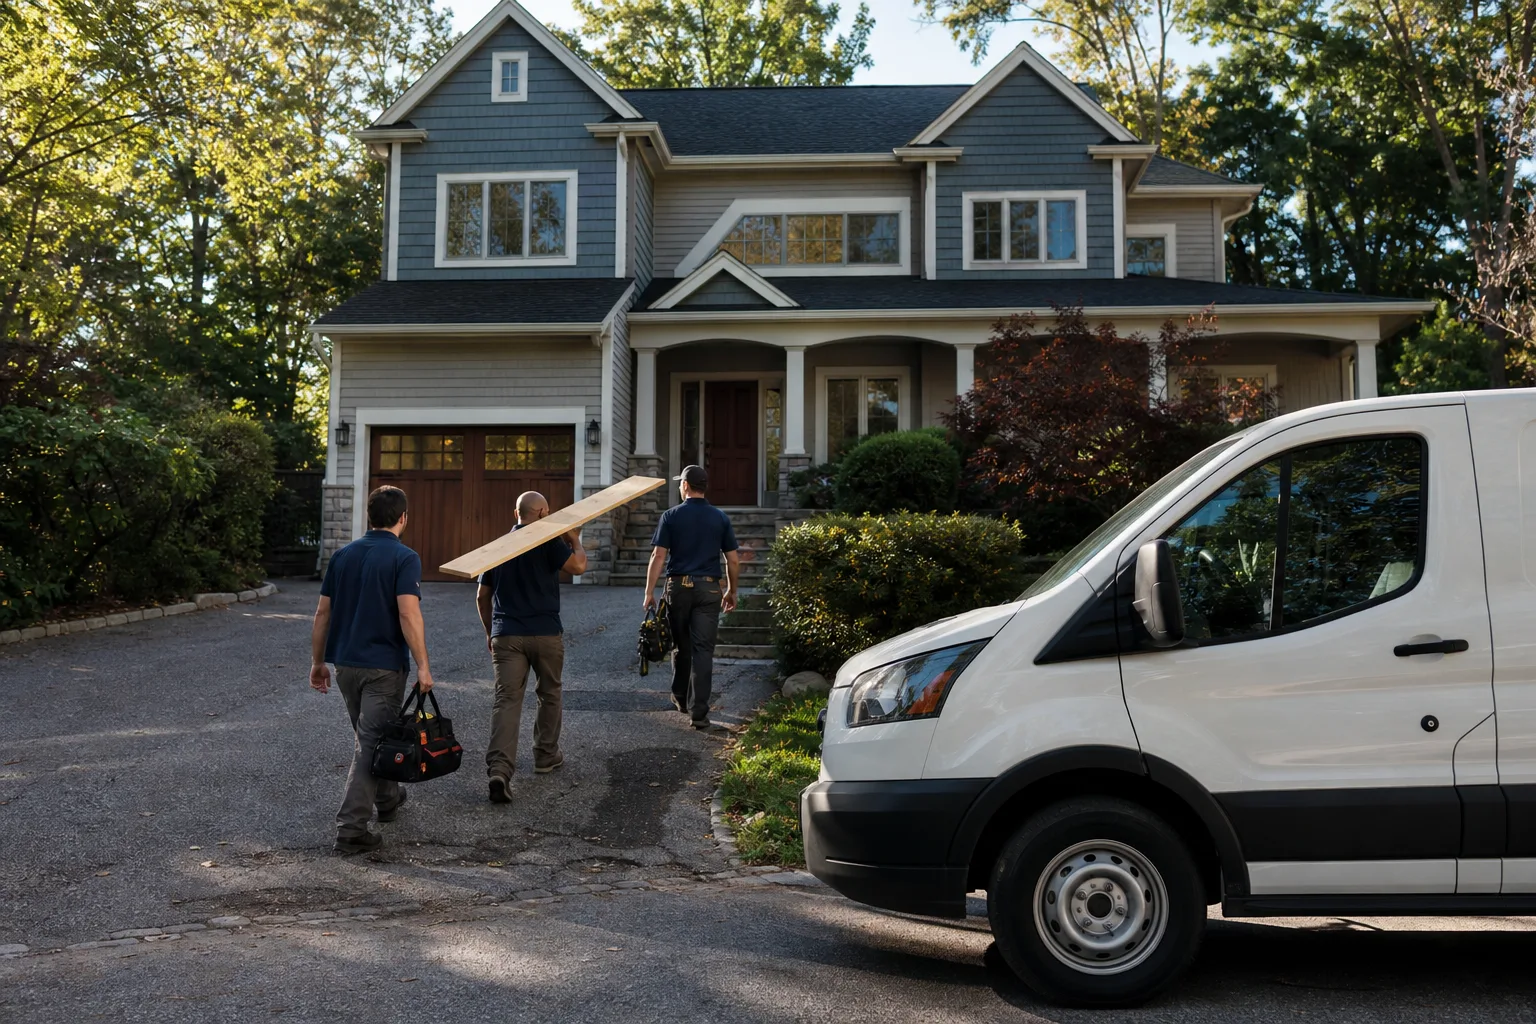
When your local Bradford Remodeling team arrives, the first thing a technician does is a hands-on assessment – not a visual sweep from the doorway. Cabinets get tested for level and plumb with a level and a straightedge. Countertop seams get checked for support underneath. Plumbing connections get dried off and inspected under load. Tile gets tapped to identify hollow spots beneath the surface.
From that assessment, we put a written price in front of you before any work starts – no range, no estimate that moves when we open the wall. That is how Bradford operates on every job, under The Garrison Standard, and it does not change based on the size of the repair.
Depending on what the assessment finds, the repair path runs through our Kitchen Remodeling service, our General Contractor scope, or both. Cabinet re-sets, countertop seam repairs using Cambria, Caesarstone, or Silestone materials, fixture replacements with Kohler or Moen product, and tile substrate corrections all fall within what our crews handle regularly. Most repairs are completed in one to two days once materials are confirmed. Larger scope items – a full cabinet re-installation or countertop replacement – are scoped and scheduled as a standard Kitchen Remodeling project. Every repaired scope is covered by the 365-Day Done Right Promise: if the corrected work fails inside that year, we come back and make it right at no charge.
Frequently Asked Questions
It depends on what failed. A slow plumbing leak under a sink cannot wait – water damage to the cabinet floor and subfloor compounds quickly, and mold can establish itself in as little as 48 to 72 hours in a damp enclosed space. A cabinet door that won’t latch or a cracked grout line is not an emergency, but it will get worse if the underlying cause isn’t addressed. If you are unsure which category your problem falls into, call (903) 568-7222 and describe what you’re seeing – a live person will answer and help you assess.
Call us at (903) 568-7222 and let us know what you’re dealing with. A live person answers that line around the clock, every day of the week. Your local Bradford Remodeling team will tell you what scheduling looks like in your area and get you the earliest available appointment. We do not quote timelines on this page because availability varies by location and current project load – the honest answer comes from the call.
No. If the original contractor’s warranty has lapsed, if they are unavailable, or if you simply don’t want them back in your home, Bradford Remodeling can assess and repair the work. We will put the corrected scope in writing before starting, and that corrected scope is covered by our own 365-Day Done Right Promise going forward. Call (903) 568-7222 to get a written estimate on what it will take to make the project right.
The written price we give you before work starts is the price. Bradford operates under The Garrison Standard, which means the price goes on paper before any work begins – not after we’re already into it. If an assessment reveals scope that wasn’t visible or accessible during the initial walkthrough, we stop, explain what we found, and give you a revised written price before proceeding. You decide whether to authorize it. Nothing moves forward without your signature on a written number.
Get It Fixed
Call (903) 568-7222 – a live person answers every call, any time of day. Your local Bradford Remodeling team will schedule a hands-on assessment, give you a written price before any work starts, and back the completed repair with the 365-Day Done Right Promise. Book online or call now to get started.
Written by Curtis Lane, Owner at Bradford Remodeling, part of the Garrison Partners family since 2004.
What Our Customers Say
"Replaced old windows and trim while redoing the kitchen. Clean finish work."
- Ron F."Home remodel with a new floor plan. Handled structural work and permits without drama."
- Gus R."Primary bath redo. Tile is straight, shower pan was flood tested, and the vanity fits perfectly."
- Tricia S.