Last updated October 9, 2026





Free written scope consultation - allowances, timeline, and change-order rules on paper before a single trade is scheduled
Home Remodeling Maintenance Schedule: What to Do and When
Silicone caulk around a new tub surround typically needs its first inspection at 90 days, before the first winter humidity cycle shrinks it and pulls it away from the tile. Most homeowners don’t touch that caulk for two years, then call us about water staining the ceiling below the bathroom. In Los Angeles, where hard water and seasonal Santa Ana dryness work different materials in different ways, a Home Remodeling maintenance calendar isn’t optional advice. It’s the difference between a 20-year kitchen and a five-year headache.
This guide lays out exactly what to check after a remodel, when to check it, how to tell normal settling from a warranty claim, and what to document so your labor and material guarantees stay enforceable. For more guides & resources, see our blog.
Quick Answer
A newly remodeled home needs its first maintenance pass at 30 days (drywall seams, paint, cabinet alignments), a second at 90 days (caulk, grout, weatherstripping), a third at 6 months (HVAC filters, door adjustments, drainage around hardscape), and then an annual walkthrough every 12 months after that. The first year is when materials settle and manufacturers’ warranties are most likely to be voided by neglect. Document everything with dated photos, because a written guarantee only works if the homeowner can show what the finish looked like at closeout.
Styles & brands we work with



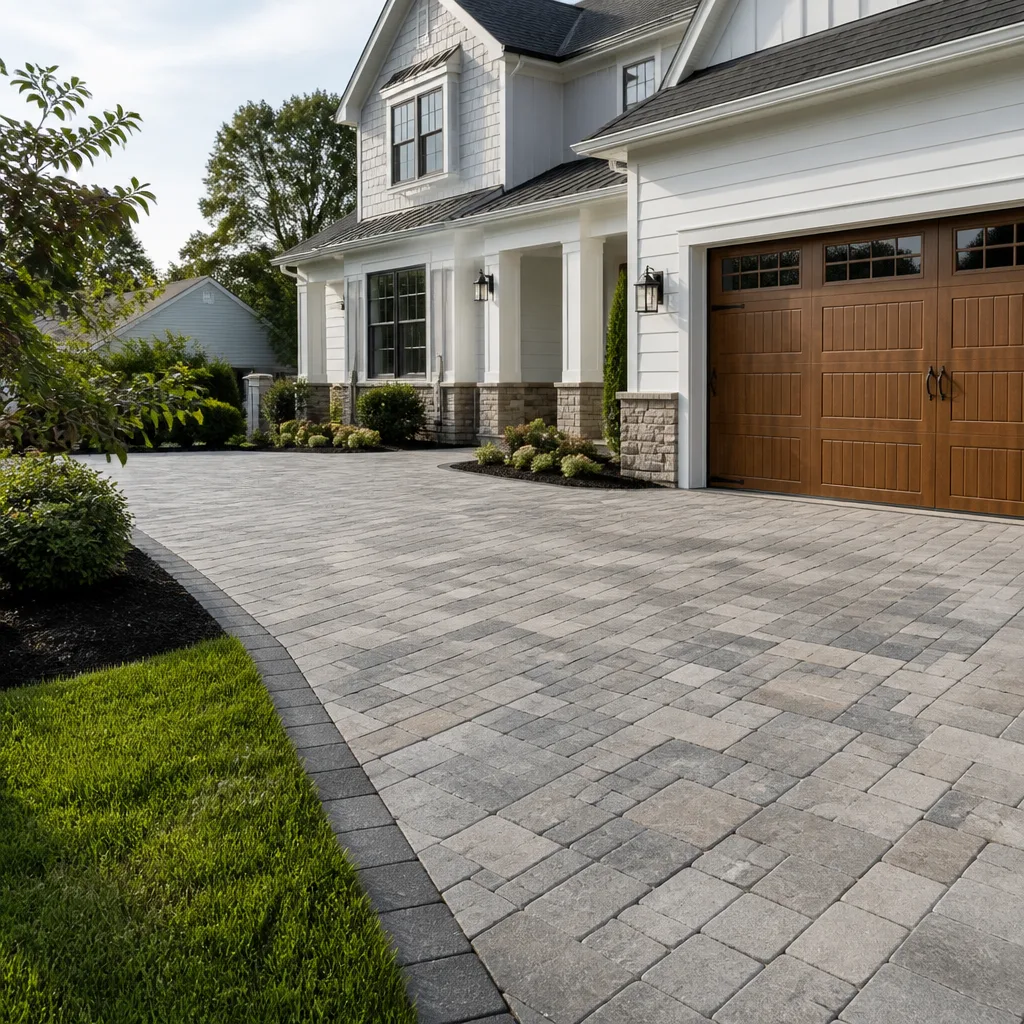
Table of Contents
- The 30-Day Check: Paint, Drywall, and Cabinet Settling
- The 90-Day Check: Caulk, Grout, and Tile Relationships
- The 6-Month Check: HVAC, Ventilation, and Moisture
- The Annual Walkthrough: Exterior, Hardscape, and Structure
- Why the First Year Is Different: Settling vs. Failure
- The Documentation Habit: Photos, Dates, and Warranty Evidence
- Common Mistakes to Avoid
- When to Call a Professional
The 30-Day Check: Paint, Drywall, and Cabinet Settling
The first month after a remodel is when the job shows its true movements. New drywall shrinks and settles as it fully cures. Fresh paint reaches its final hardness. Cabinet doors, installed square on day one, drift slightly as the house breathes through the first full temperature cycle post-construction.
Here’s the 30-day agenda, in order of what we tell our own clients after closeout in Los Angeles:
- Check drywall seams and interior corners with a flashlight at a low angle. Look for hairline cracks. A crack thinner than a credit card along a seam line is normal settling. A crack wider than that, or one that runs diagonally across the center of a panel, deserves a phone call.
- Examine paint for roller texture changes and color shifts. Dark paints in particular continue to cure for up to 30 days. Don’t judge final color until the paint has a full month on it. If you use LED lighting in some rooms and incandescent in others, expect the same paint to read differently. That’s lighting, not a paint defect.
- Tighten cabinet door and drawer hardware. A 30-day retorque is standard even on premium lines like KraftMaid and Wellborn, because wood moves and fasteners that were snug at install loosen by a quarter turn. Use a screwdriver, not a drill, and stop when you feel firm resistance.
- Check the cabinet door reveals. Look at the even gap at the top and bottom of every door. If a door has drifted, adjusting a hinge takes five minutes and prevents a lifetime of uneven wear on the hinge itself.
- Run every faucet and check under-sink areas for drips. Compression fittings and supply lines settle just like everything else. The first month is when a slow weep shows up. Catch it now and it’s a ten-minute fix, not mold remediation.
At Bradford Remodeling, we walk every project through this 30-day list before we consider the job “squared away.” The written price we gave you before day one included this level of follow-through. The closer to this checklist you stay in month one, the fewer surprises in month six.
The 90-Day Check: Caulk, Grout, and Tile Relationships
The 90-day mark is the one nobody warns you about. It’s when silicone caulk, which looked perfect at closeout, shows whether it was applied correctly and whether the substrate behind it moved. In Los Angeles, the first 90 days after a remodel usually include at least one significant humidity swing and one Santa Ana dry spell. That combination is exactly what exposes bad caulk and bad grout before the damage gets behind the tile.
What to inspect at 90 days:
- Every caulk joint in wet areas – tub surrounds, shower pans, sink rims, backsplash-to-counter transitions. Look for separation. Silicone should still be fully adhered to both surfaces. If you can slide a fingernail behind the bead, it’s failing.
- Grout lines on shower floors and lower wall tiles. Hairline cracks in shower floor grout are the earliest warning that the subfloor has too much flex. It leaks before it’s visible, so a cracked line at 90 days is a call-to-action, not a cosmetic note.
- Tile-to-tub and tile-to-pan transitions. These should be caulked, never grouted. Grout at a change of plane will crack every time. If your installer grouted these seams, that’s a defect, not normal wear.
- Exterior caulk around new windows, doors, and trim. In Los Angeles, UV exposure breaks down exterior caulk faster than interior. A bead that’s hardened, cracked, or pulling away at 90 days signals that the wrong product was used or the joint was over-tooled.
Visual markers of failure vs. normal aging: Normal aging means the caulk looks slightly duller but still holds its line. Failure means the bead is lifting, the surface is cracked, or water darkened the edges of the grout. If you see dark staining at the base of a tile wall, don’t wait. That’s not surface discoloration. That’s moisture in the substrate.
The 6-Month Check: HVAC, Ventilation, and Moisture
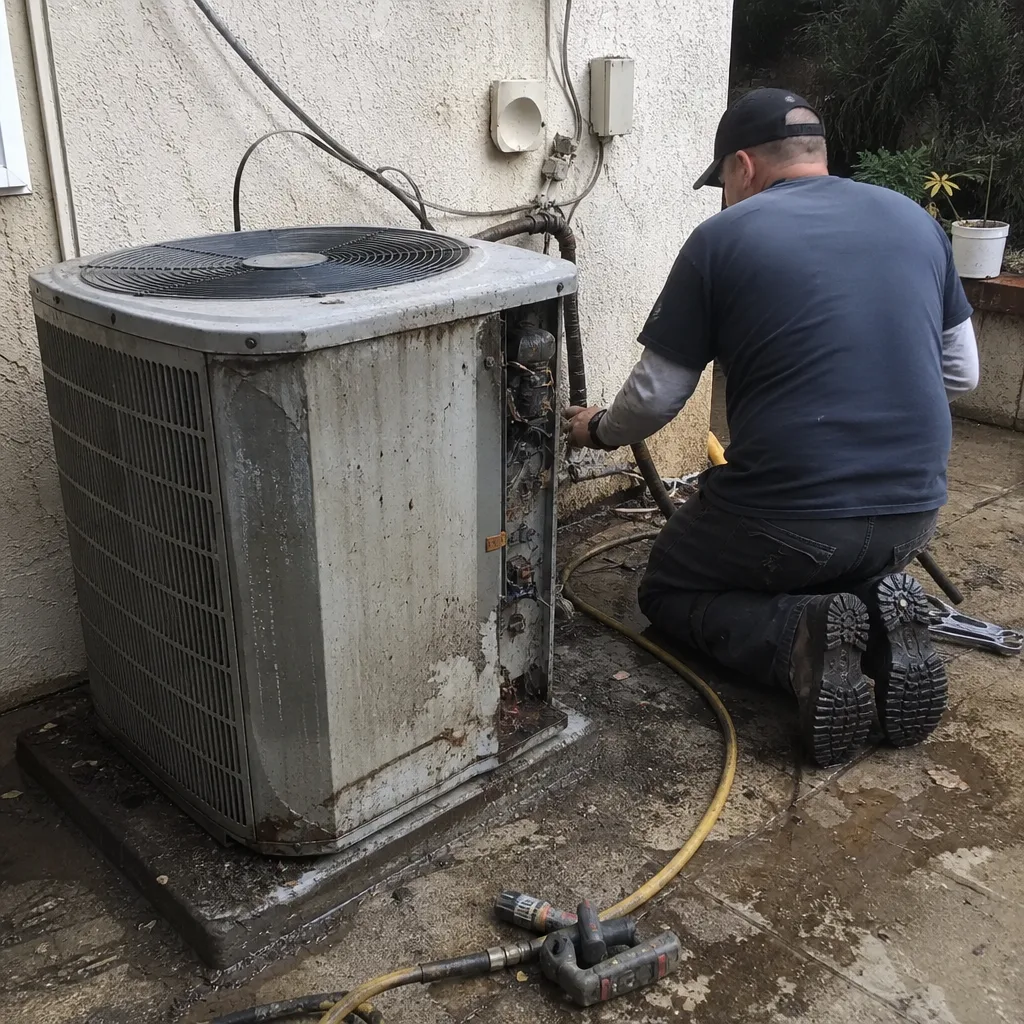
The single most overlooked post-remodel maintenance item is the HVAC system, and in Los Angeles it’s also one of the most consequential. New construction generates enormous amounts of fine dust: drywall sanding, tile cutting, wood sanding. That dust settles into return ducts, gets pulled across the evaporator coil, and works its way into the blower motor bearings. A 6-month check that includes a filter change and a visual on the coil is not optional after a remodel. It’s the difference between a system that runs for fifteen years and one that dies in five.
Here’s the 6-month protocol we tell our clients to follow, or to have their HVAC contractor follow:
- Replace the return air filter. After any remodel, treat the first filter as a construction filter, not a regular filter. A MERV 8 filter that would normally last 90 days will often be plugged solid after 6 weeks of post-construction air. If you haven’t changed it since closeout, do it now.
- Inspect the supply registers and remove settled dust. If a register shows a visible dust shadow on the wall or ceiling around it, the duct interior needs cleaning or at least a serious vacuum. Drywall dust in a duct is abrasive.
- Check bathroom exhaust fans. Run each fan and hold a tissue to the grille. If the tissue doesn’t stick, the fan isn’t pulling. In older Los Angeles homes, a remodel often exposes that the fan is venting directly into the attic rather than to outside. That’s a code violation and a mold source. Fix it now while the remodel is still fresh.
- Look under every sink for slow drips at the shutoff valves and supply lines. Six months in, the settling has mostly finished. A drip now is a real leak, not an install artifact.
- Walk the exterior at dusk with a flashlight. Check for new gaps at window and door trim, especially on south-facing walls that take full Los Angeles sun. If light passes through, air passes through, and so does water.
The Annual Walkthrough: Exterior, Hardscape, and Structure
Once you’ve made it through the first year, the calendar simplifies. One thorough annual inspection catches most developing problems before they require a repair invoice. In Los Angeles, where winter brings rain in concentrated bursts and summer brings high UV and soil movement in hillside areas, the annual walkthrough needs to cover the house envelope and the hardscape that sheds water away from it.
The annual checklist, top to bottom:
- Roof and gutters. Check for missing or lifted shingles, cracked ridge caps, and separated flashing at any penetration. Clear gutters and downspouts before the first real rains. Los Angeles doesn’t get many rain days, but when the atmospheric river hits, it hits. A downspout that’s been plugged since March will overflow exactly when you don’t want it to.
- Exterior caulking and weatherstripping. Re-inspect every window and door perimeter. UV in Southern California eats caulk faster than most other climates, so a bead that was perfect in month 6 may be failing at month 18.
- Irrigation and grade around the foundation. Verify that soil slopes away from the house, that no planter beds have been built up against the stucco, and that irrigation spray is not hitting the wall every single day. Constant water at the foundation line is the slow killer of Los Angeles remodels.
- Hardscape joints and paver leveling. If you did a Belgard paver patio or walkway as part of your remodel, look for any paver that rocks underfoot or any joint that’s washed out. Re-sanding a few joints is a Saturday afternoon job. Replacing a sunken section of base is not.
- Interior plumbing and water heater. Run every fixture, flush every toilet, and check the water heater burner or element operation once a year. This is not glamorous work, but it’s the work that keeps a remodel from aging into a repair list.
Why the First Year Is Different: Settling vs. Failure
The first twelve months after a remodel is a probationary period for both the materials and the installation. Manufacturers know that new materials adjust to the house. Homeowners often don’t. Understanding the difference between normal movement and an actual defect-covered in our Home Remodeling Troubleshooting: Common Problems and How to Fix Them-is the most valuable diagnostic skill you can develop in year one.
What’s normal in the first year: hairline cracks along drywall seams in the ceiling, usually at intersections where the framing dried; slight color variation in wood flooring as it acclimates to your house’s humidity; a cabinet door that drifts a sixteenth of an inch; caulk that appears slightly recessed as it fully cures; grout that looks slightly lighter in color than it did at install.
What’s a warranty issue: a drywall crack wider than a dime and growing; paint that peels in sheets rather than wearing in a spot; tile that sounds hollow when tapped, indicating loss of bond to the substrate; a cabinet door that can’t be adjusted to close; caulk that cracks and pulls away from the joint within the year; grout that crumbles out of the joint in powder form.
At Bradford Remodeling, every completed project includes our 365-Day Done Right Promise in writing. If the work fails inside that first year for reasons that trace back to our installation, we return and correct it at no charge. But the distinction matters: a workmanship failure is different from normal material movement. The earlier you flag either one, the better the outcome.
The Documentation Habit: Photos, Dates, and Warranty Evidence
Most warranty disputes fail because of missing records, not because of a reluctant contractor or manufacturer. The homeowner who can show a dated photo of the finished shower grout from month one, followed by a dated photo of a cracked joint from month nine, has a clear timeline. The homeowner who just remembers that it looked fine is arguing from memory.
Here’s a documentation protocol that takes ten minutes per inspection and protects the enforceability of every warranty you carry:
- Photograph every finished surface at closeout and again at each inspection interval. Use the same angle, same lighting, same distance each time. These comparison shots are what warranty claims are built on.
- Date every photo file. Your phone does this automatically. Do not rely on your memory of when you took the photo. Courts and warranty administrators don’t either.
- Keep a simple log. A page in a notebook or a note on your phone: date, what you inspected, what you found, what you did. Three lines. That’s enough. Most people take zero.
- File the written guarantee from your contractor in the same folder as your inspection photos. At Bradford Remodeling, every project receives a signed written guarantee at closeout. That piece of paper only matters if you can match it to evidence of how the work has been maintained since install.
- Photograph any issue the day you notice it, before any repair attempt. If you call a handyman to fix a crack before photographing it, you’ve destroyed the evidence trail the manufacturer would need to validate a claim.
This is not paranoid. This is the same discipline we run our own operation on: document the scope, document the condition, document the closeout. The Garrison Standard exists because undisciplined documentation is how homeowners end up paying twice for the same job.
Common Mistakes to Avoid
- Ignoring caulk for the first two years. Silicone caulk in a shower needs its first serious inspection at 90 days. Ignoring it until it fails completely is the single most common cause of water damage in newly remodeled bathrooms we see in Los Angeles homes.
- Running the HVAC on a construction-clogged filter for six months. Drywall dust will destroy a blower motor faster than normal household dust. The first filter after a remodel is a construction filter. Change it early and often.
- Assuming grout is waterproof. Grout is not waterproof. It’s water-resistant at best. The waterproof layer is behind it, and that layer needs the caulk at every change of plane to do its actual job. A cracked grout line at the bottom of a shower wall is a message from the substrate.
- Repainting over peeling paint without finding the moisture source. Paint doesn’t peel on its own. If new paint is peeling within the first year, you have a moisture or adhesion issue, and a new coat of paint doesn’t fix either one.
- Throwing away the closeout paperwork. The written guarantee, the material spec sheets, the paint color codes, the tile lot numbers. File all of it. When you need it, you need it immediately.
- Waiting until the rainy season to check gutters and drains. In Los Angeles, the first major storm finds every clogged downspout and every separated flashing joint. A dry-season inspection is always cheaper than an emergency repair timeline.
- Assuming a handshake is a warranty. If your contractor didn’t give you a written guarantee that specifies what’s covered and for how long, you don’t have a warranty. You have a conversation.
When to Call a Professional
Some maintenance tasks are for the homeowner’s tool bag. Others are not, and knowing the line keeps a small issue small. Call a professional when you see water staining that spreads between inspections, when a crack opens wider than a dime, when a tile comes loose from the floor or wall, when an exhaust fan stops pulling air, when a cabinet hinge pulls free of the frame, or when any electrical fixture flickers or trips a breaker. None of these are DIY moments. Several of them are active water or electrical risks.
If you’re in Los Angeles and any of the issues in this guide turn up on your post-remodel walkthrough, Bradford Remodeling home offers free estimates. Our General Contractor in Los Angeles services cover exactly the kind of warranty-backed correction work this article talks about. Call (903) 568-7222 and a live person will pick up, day or night.
See the difference
 Before
 After
After Before
 After
After Before
 After
AfterFrequently Asked Questions

You should complete a 30-day check, a 90-day check, a 6-month check, and then an annual walkthrough every 12 months after that. The first year requires more frequent attention because materials are settling and warranties are most vulnerable. After year one, a single annual inspection is sufficient for most homes in Los Angeles.
Caulk inspection is the most commonly missed item. The silicone caulk around a new tub or shower surround needs its first inspection at 90 days, but most homeowners don’t touch it until visible failure two or three years later, by which point water has often already damaged the substrate behind the tile.
Hairline cracking along drywall seams in the first year is normal settling, especially at ceiling intersections where framing lumber loses moisture after construction. A crack wider than a dime or one that runs diagonally across a panel center is not normal and should be evaluated as a potential warranty issue.
Change your return air filter within 30 days of project closeout, even if it looks clean. Remodeling generates drywall dust, sawdust, and tile-set dust that accumulates in the duct system. The first post-construction filter often loads up in six weeks. A second change at the 6-month mark is standard for our Los Angeles clients.
No. Every completed Bradford Remodeling project carries the 365-Day Done Right Promise, delivered as a written guarantee at closeout. If the work fails inside that first year due to our installation, we return and correct it at no charge. That’s what the guarantee says, and that’s how it works.
Take dated photographs of every finished surface at project closeout and again at each inspection interval, using consistent angles and lighting. Keep a simple written log of each inspection with the date and what you found. File your contractor’s written guarantee with those records. For remodeling in Los Angeles, this documentation is what makes a warranty claim clear and enforceable.
The Bottom Line
A remodel doesn’t end at closeout. The first year is a defined maintenance window with specific tasks at 30, 90, and 180 days, and the annual walkthrough that follows is what protects the investment for decades. Most warranty failures we see aren’t material defects. They’re maintenance gaps: caulk left to fail, filters left to clog, documentation left undone. Los Angeles homeowners who keep a simple calendar and a camera get the full value of their remodel, their labor warranty, and their material warranties. If you want a remodeling partner who puts every price and every guarantee in writing before a tool comes out, Home Remodeling in Los Angeles from Bradford Remodeling runs on The Garrison Standard. For kitchen work, see our Kitchen Remodeling in Los Angeles page. Call (903) 568-7222 to schedule a free estimate, and we’ll bring the same discipline to your project.
Written by Curtis Lane, Owner at Bradford Remodeling, serving Los Angeles since 2004.