Last updated October 9, 2026






Free written scope consultation - allowances, timeline, and change-order rules on paper before a single trade is scheduled
General Contractor Maintenance Schedule: What to Do and When
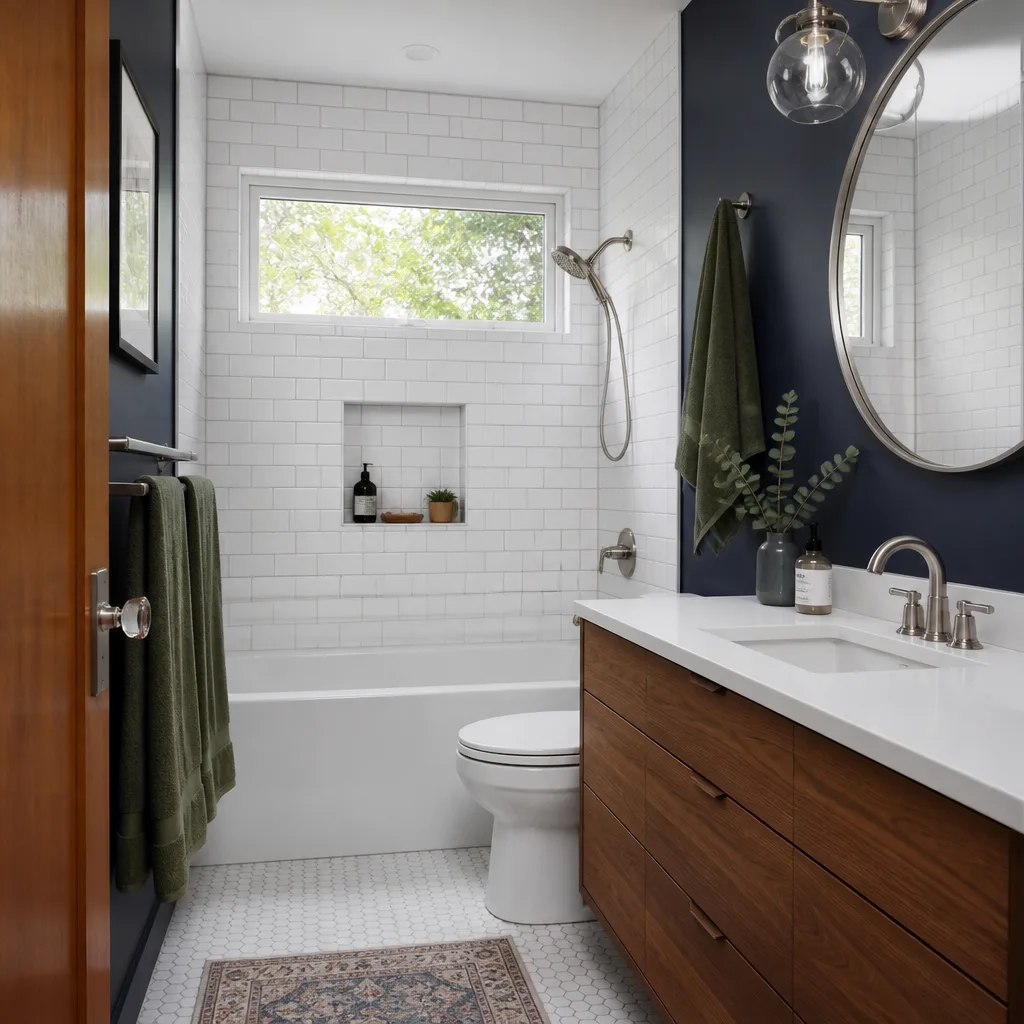
A freshly remodeled bathroom will show grout failure, caulk shrinkage, and exhaust fan degradation within 18 months if nobody does the 30-minute quarterly checks. Most General Contractor services end when they hand you a key and leave. That is not how we run jobs in Los Angeles, and it is not how your remodel should age. This guide covers the maintenance lifecycle of work a general contractor completes: what to check at 30, 60, and 90 days, what each trade needs annually, how to tell normal settling from real structural trouble, what your warranty actually covers, and how LA’s climate and seismic conditions change the math. If you paid for a remodel, this schedule is the difference between a remodel that lasts 20 years and one that starts failing at five.
Styles & brands we work with





Quick Answer
A general contractor maintenance schedule means checking caulk, grout, door alignment, and fixture connections at 30, 60, and 90 days after project close, then running a trade-by-trade annual inspection on framing, plumbing rough-in, electrical panelwork, and HVAC additions. In Los Angeles, add a pre-rain gutter and exterior seal check each fall and a post-rain check each winter. A disciplined quarterly walkthrough takes 30 minutes and catches 80 percent of the issues that turn into five-figure repairs; find more guides & resources on our blog.
Table of Contents
- The First 90 Days: What to Check After a Remodel
- Annual Maintenance by Trade: Framing, Plumbing, Electrical, HVAC
- Normal Settling vs. Structural or Waterproofing Failure
- What Most Contractor Warranties Actually Cover (and What They Exclude)
- Los Angeles-Specific Seasonal Factors
- The 30-Minute Quarterly Walkthrough
- Common Mistakes to Avoid
- When to Call a Professional
- Frequently Asked Questions
The First 90 Days: What to Check After a Remodel
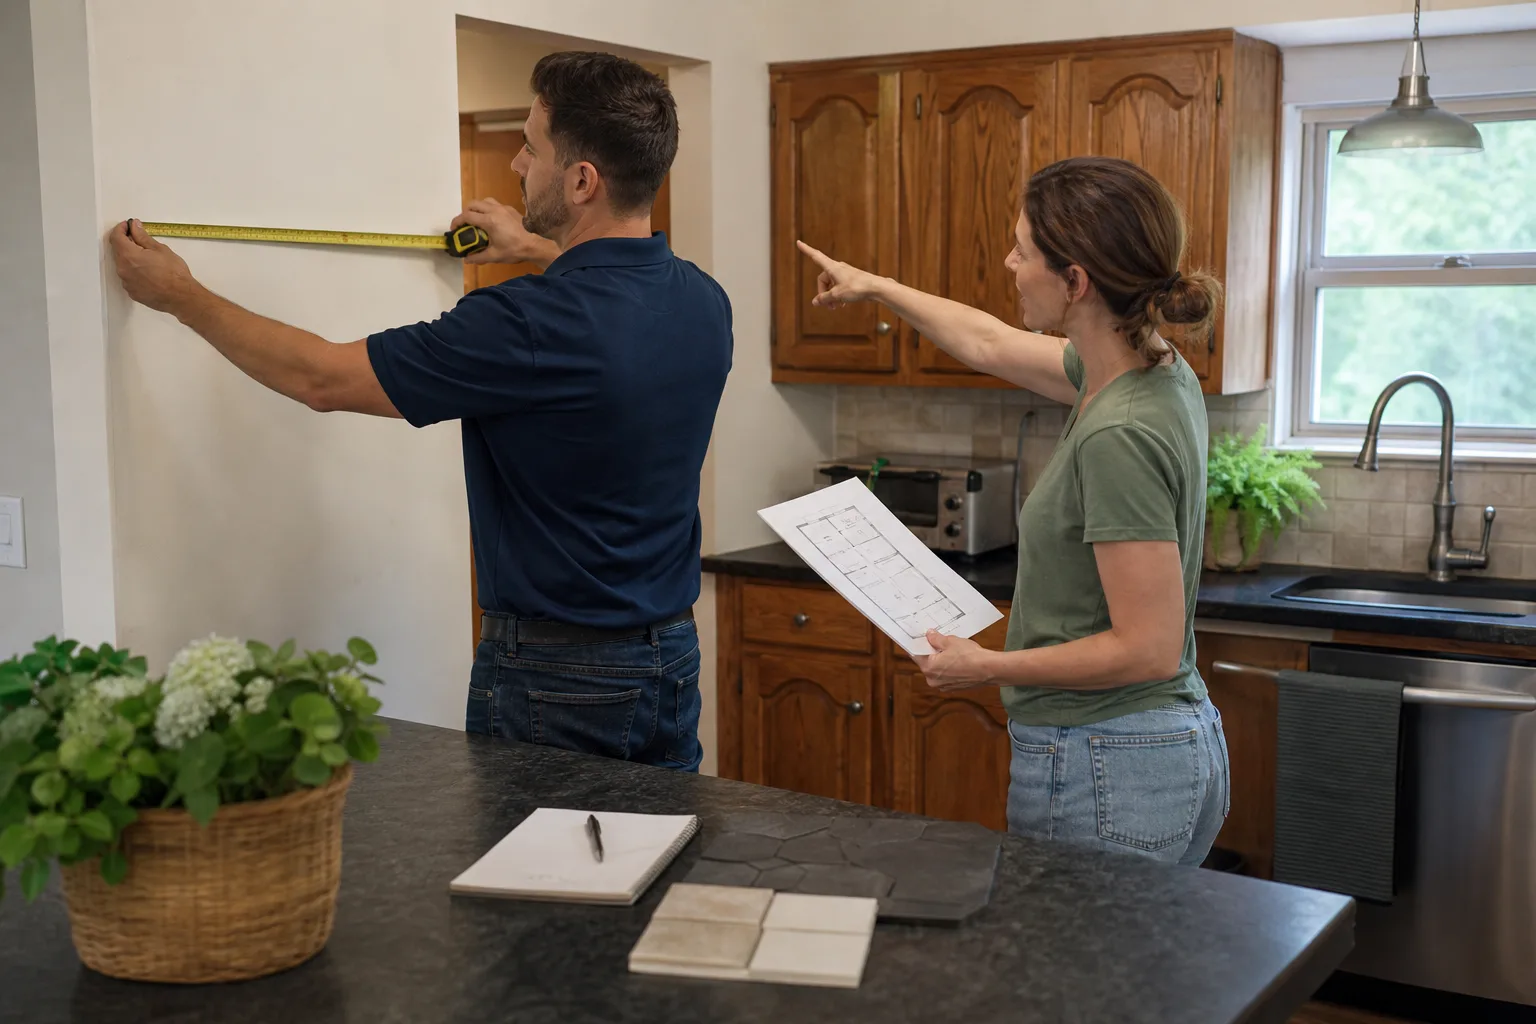
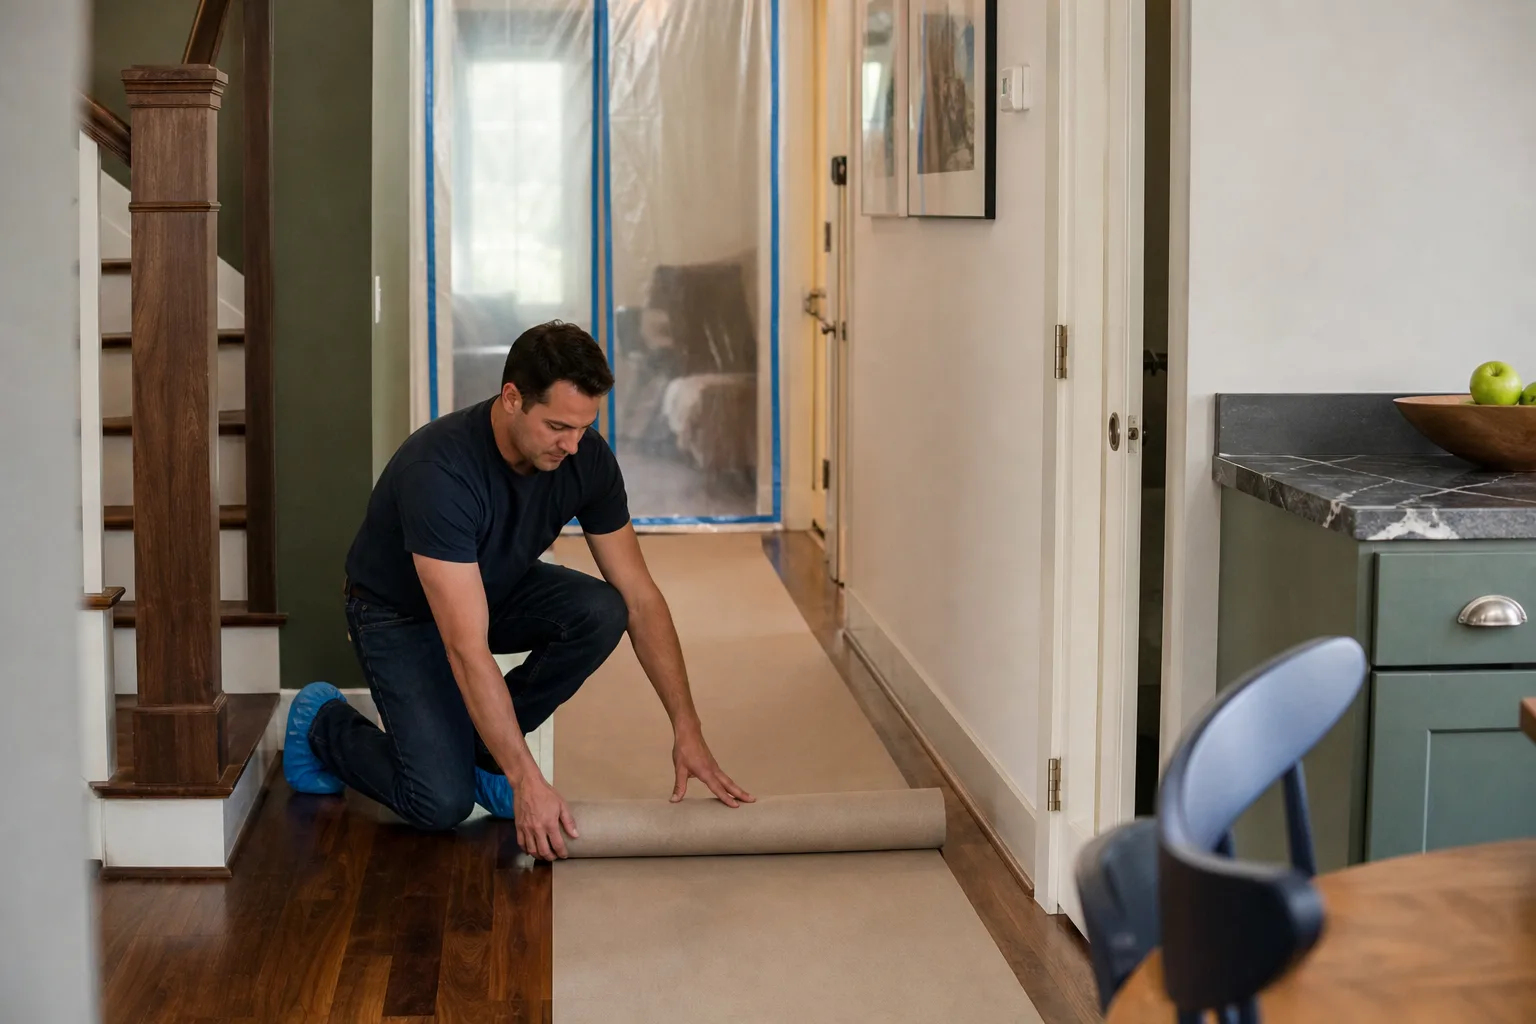
A remodel shifts as it settles into your home’s existing structure. The first 90 days are when installation defects show themselves while they are still covered under a contractor’s workmanship warranty and before they compound into larger problems. At Bradford Remodeling home, we walk every client through a 30-60-90 checklist before we hand over the keys. Here is what that looks like.
Day 30: The Settling-In Check
The first month after a remodel in Los Angeles is when materials respond to the home’s daily temperature swings. Run through this list:
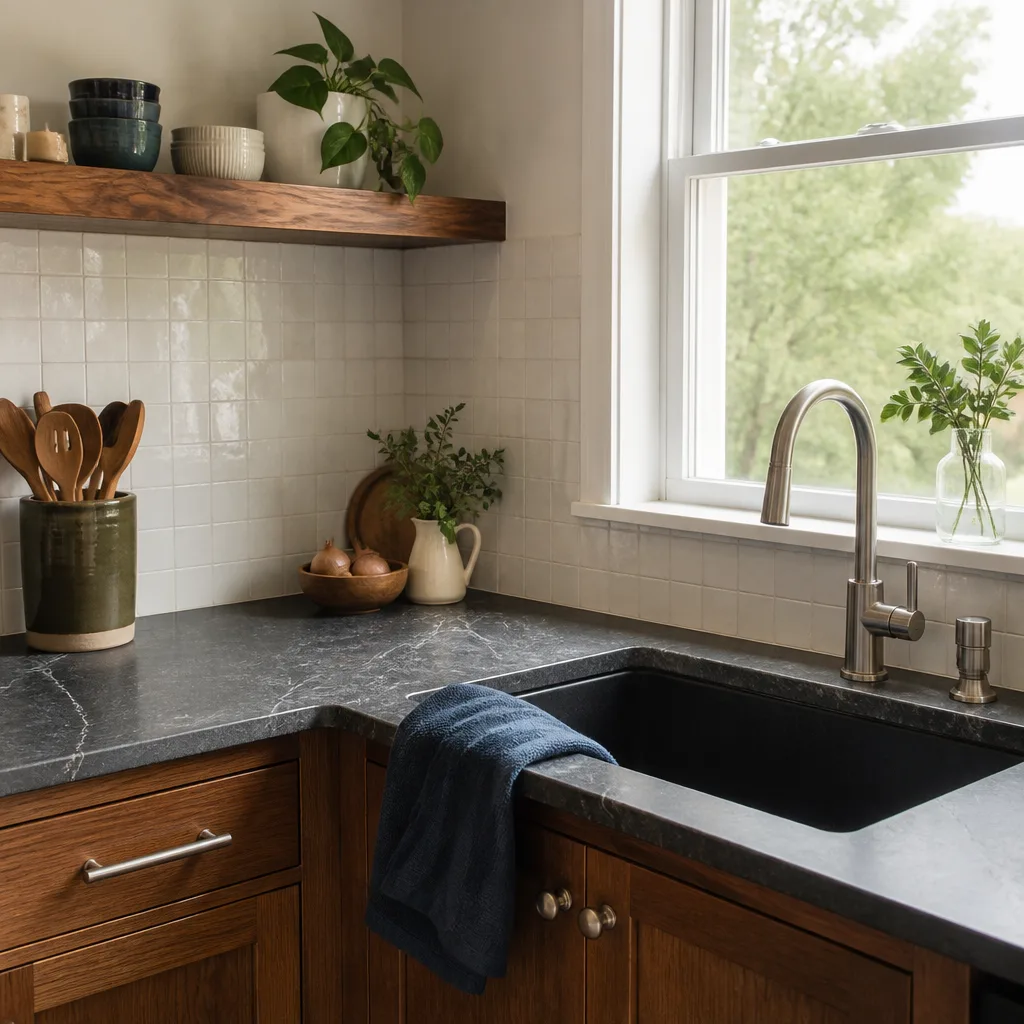
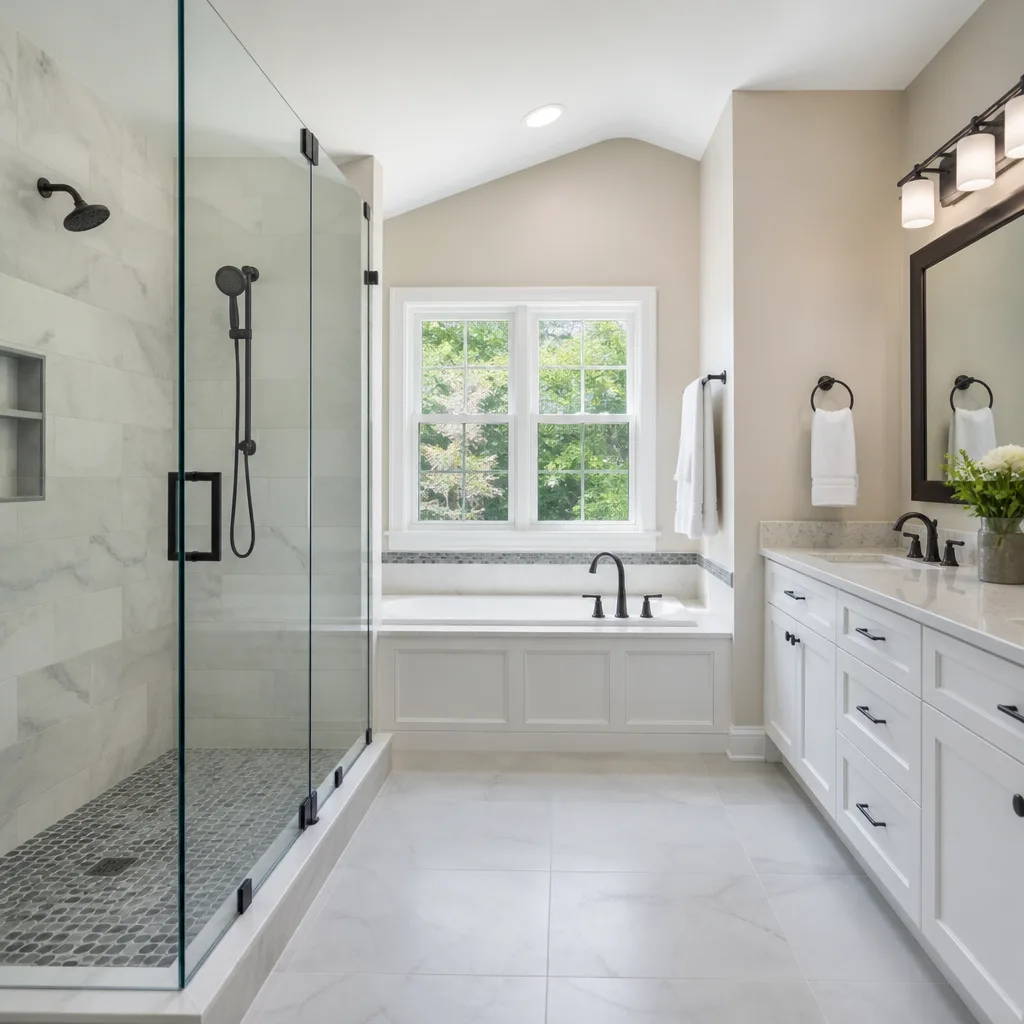
- Caulk joints in wet areas. Check every caulk line in the shower, around the tub, along countertop backsplashes, and where tile meets the vanity. Fresh caulk can shrink as it fully cures, pulling away from the tile edge by a hair. If you see a gap, that is a call your contractor should handle under warranty.
- Grout lines in shower pans and bathroom floors. Look for hairlines in the grout, especially in corners where two planes meet. Shower pans flex slightly under body weight. Corner grout is the canary in the coal mine.
- Cabinet door alignment. Hinges settle as cabinet boxes take their first real load of dishes and cookware. A door that rubs or catches is a 2-minute hinge adjustment, but only if you catch it before the friction wears the finish.
- Toilet flange connections. Rock the toilet gently with one hand. A properly anchored toilet sits dead still. Movement means the flange or wax ring was not set correctly, and that leak grows quietly into the subfloor.
- Sink and faucet fittings. Run both taps, check the trap connections under the sink with a dry paper towel, and look for any moisture at the shutoff valves. A slow drip at the shutoff valve is often a loose compression nut from install, not a material failure.
Day 60: The Load-and-Stress Check
By day 60, your home has cycled through roughly 60 nights and 60 days of thermal expansion. In Los Angeles, interior temperatures in a non-conditioned room can swing 20 degrees between night and day, and those swings stress joints differently than the steady climates where a lot of building science gets tested.
- Door and window operation. A newly framed opening in an older LA home will move slightly as the existing framing adjusts to the new load path. Check every door you touch daily for a corner that drags on the jamb or a latch that no longer lines up.
- Paint seams at drywall transitions. Look at the seams where new drywall meets old drywall, especially on exterior walls and ceilings. Tiny hairline cracks here are normal. A crack wide enough to fit a thumbnail is worth documenting.
- Tile corners at outside edges. Any tile edge that protrudes beyond a wall plane is a chip risk. If a corner tile has already chipped at day 60, ask your contractor why the edge was not bullnosed or capped. A properly finished tile edge doesn’t chip under normal household traffic.
- Exhaust fan draw. In a bathroom, hold a single square of toilet paper up to the running exhaust fan. It should stick. If it doesn’t, the fan is either undersized, ducted incorrectly, or the backdraft flap is stuck shut. A bathroom exhaust fan that doesn’t move moist air is a mold problem waiting for someone to discover it.
Day 90: The Weather-Cycle Check
Ninety days is long enough for a remodel to have run through at least one meaningful rain event in Los Angeles and for any interior moisture damage to present. This is when we look at what water does when it meets your house.
- Window and door exterior seals. Walk the exterior and check the perimeter caulk on every new or replaced window and door. Look for gaps at the top corners where water can run down the wall and find an entry point. Even a narrow gap at the head casing will funnel water behind the weather barrier during a real Los Angeles storm.
- Roof penetrations at any new vents, skylights, or flues. If your remodel added a vent stack, an exhaust fan termination, a skylight, or a range hood flue, the roof penetration is a roof leak point. Look in the attic for daylight around the pipe boot or any discoloration on the sheathing.
- Drainage under sinks and at exterior hose bibs. Recheck every trap under every sink you touched. Then turn on the hose bibs. A freeze is rare in Los Angeles, but a remodel that opened walls near an exterior bib can shift the pipe enough to create a joint drip.
Why the 30-60-90 Structure Matters
The point of checking on a schedule is not that problems will appear on day 60; it is that problems have a window when they are obvious, documented, and cheap. Every defect you catch inside the first year is a defect your contractor fixes under their workmanship warranty. Every defect you find at year six is a repair bill. A written maintenance log is your evidence if a warranty claim ever turns into a dispute. We will get to that below, but the short version is this: a homeowner who can point to a date-stamped log of checks and what was found is a homeowner whose warranty claim gets approved. The homeowner who says “I don’t know when it started” is the homeowner who eats the cost.
Annual Maintenance by Trade: Framing, Plumbing, Electrical, HVAC
Once the first 90 days are behind you, the maintenance cadence shifts to an annual schedule. But saying “do annual maintenance” is vague enough to be useless. The useful version is trade-by-trade, because each trade fails its own way, and the General Contractor Warning Signs Every Homeowner Should Know are different. Here is what each of the four major trades needs on a 12-month cycle after a remodel.
Framing and Structural
Framing work from a General Contractor in Los Angeles should not require active maintenance in the way that, say, a sink requires maintenance. Lumber does not need lubricating. What framing needs is observation. On a 12-month cycle, walk the perimeter of any room that was opened up during the remodel and check for these three things:
- New cracks in drywall at corners or seams. A crack that appears at year three and stays hairline-thin is cosmetic. A crack that grows seasonally, changes direction, or opens wide enough for a coin edge is a sign the load path changed.
- Deflection in floors. Stand in the center of a room that was added or reconfigured. Jump once. If you feel the floor give or hear dishes rattle in the next room, the joists may be under-spec’d for the span. That is a structural assessment call, not a drywall repair.
- Headers above new openings. If a wall was removed and a beam installed, check the drywall around the beam ends once a year. A properly engineered beam does not crush, crack, or sag the drywall around it. If you see compression at the ends, the load transfer is not working as the framing plan intended.
In Los Angeles, one special consideration is seismic. After any earthquake strong enough to feel, run this framing checklist. Micro-movement in a seismic event can change the fit of doors, the alignment of cabinets, and the way a beam sits on its posts. The annual check catches gradual drift; the post-quake check catches sudden movement.
Plumbing Rough-In
The plumbing lines that live behind your walls are not visible, so the annual plumbing check is really a pressure test and a moisture check at the points where plumbing becomes visible.
- Water pressure at the fixture. If you notice shower pressure dropping, compare it to another fixture on the same floor. A single fixture losing pressure often means debris in the cartridge or a failing shutoff valve, not a supply line issue. Low pressure everywhere points to a regulator or a main line issue.
- Shutoff valves. Once a year, turn every shutoff valve under every sink and toilet one quarter-turn forward and back. Valves that are never exercised freeze open over time. The day you need the valve to stop a flood is the wrong day to discover it will not turn.
- Drain speed. A sink or shower that drains noticeably slower than the day the remodel finished indicates buildup in the trap or the branch line. Annual drain cleaning of remodel fixture lines is cheap compared to opening a wall to replace a blocked cast-iron or galvanized section.
- Water heater connections. If your remodel moved or replaced the water heater, check the supply connections and the TPR valve annually. The TPR valve test takes 30 seconds: lift the lever, confirm water flows out, release it, confirm it stops. A failed TPR valve turns a water heater into an unvented pressure vessel.
Electrical Panel and Rough-In
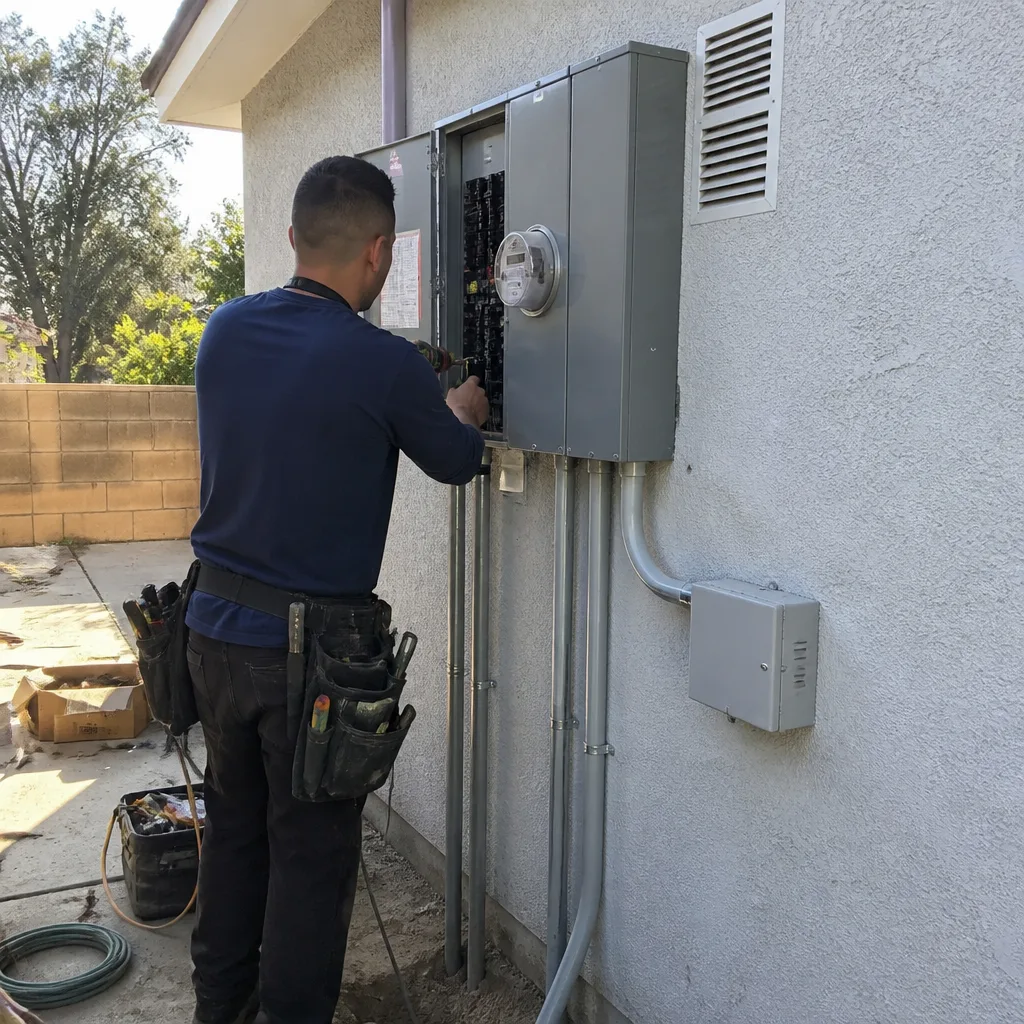
If your remodel added circuits, moved the panel, or ran new wire, the annual electrical check is about heat and connection integrity. We are not giving you a DIY electrical maintenance procedure here, because working inside a panel is genuinely dangerous. What we are giving you is an observational checklist that tells you whether you need an electrician.
- Breaker heat. Once a year, with the panel cover on, run your hand down the front of the panel door. Excessive ambient heat at one breaker location points to a loose connection at the bus or a breaker carrying more load than the circuit was designed for. That is an electrician call.
- Warm outlets and switches. Any outlet or switch that feels warm to the touch during normal use is showing resistance. Resistance in an electrical connection causes heat, and heat causes fire. This is not a “check again next year” item.
- AFCI and GFCI test buttons. Modern electrical code in Los Angeles requires Arc Fault Circuit Interrupters on most living-area circuits and Ground Fault Circuit Interrupters on wet-area circuits. The test button exists for a reason. Press it once a year. If it does not trip, that device is not protecting anything.
- Flicker or dimming. Lights that flicker when a motor starts, like a disposal or vacuum, can point to an undersized shared circuit or a loose neutral on that run. If you notice new flicker in a newly remodeled room, flag it before it becomes intermittent electrical service.
HVAC Additions and Duct Changes
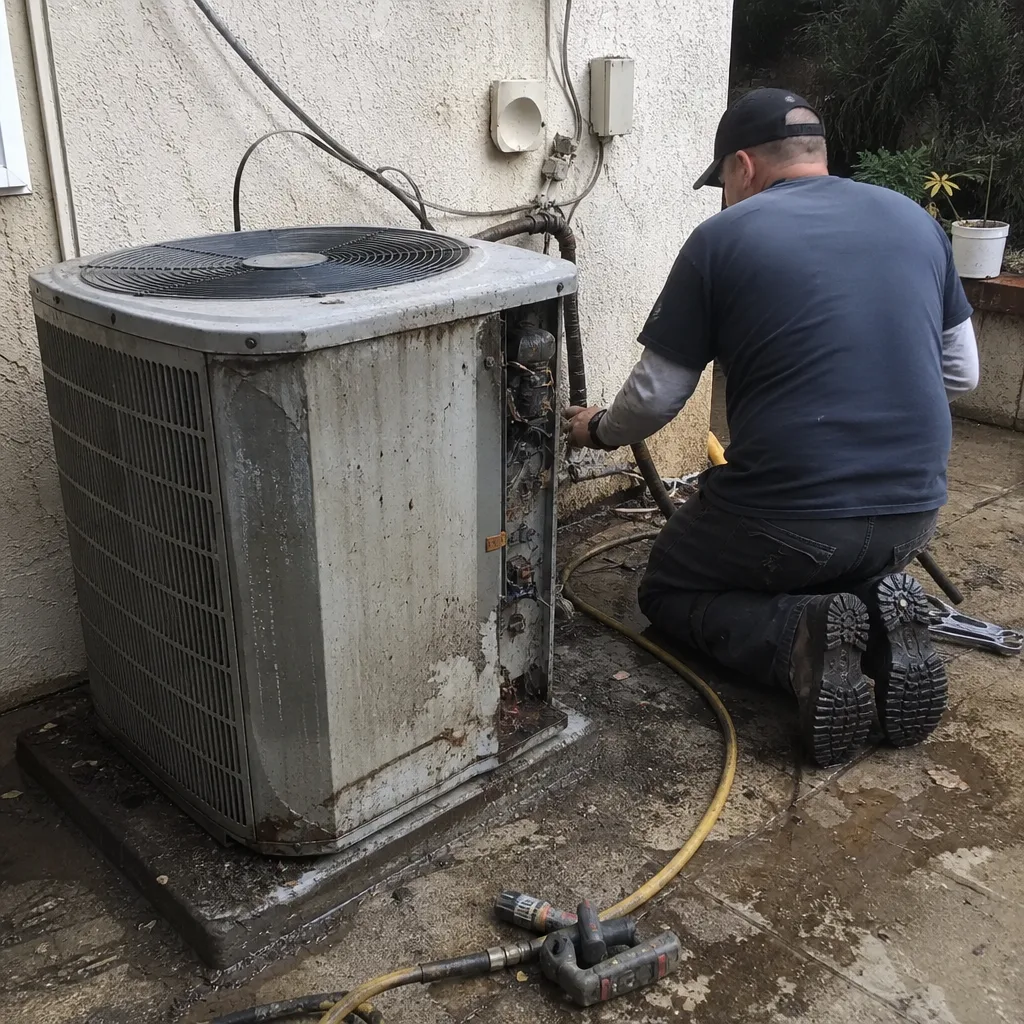
A remodel that moves walls or adds square footage changes the air volume your HVAC system is expected to condition. Many Los Angeles remodels add a room without resizing the HVAC, and the system quietly struggles from year one. Here is the annual checklist for a remodel-touched HVAC system:
- Filter change. Change the filter every 3 months if it’s a standard 1-inch filter, every 6 months if you run a 4-inch media cabin
See the difference
 Before
 After
After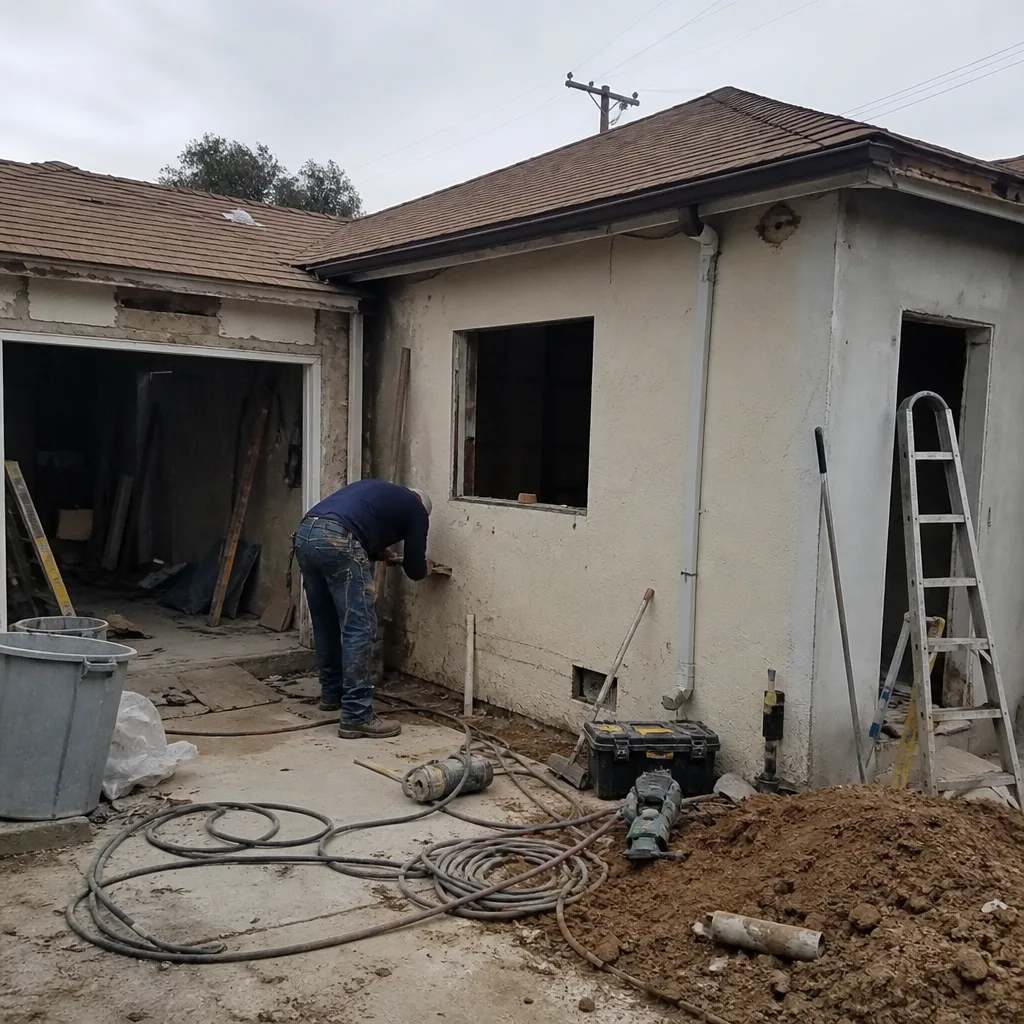 Before
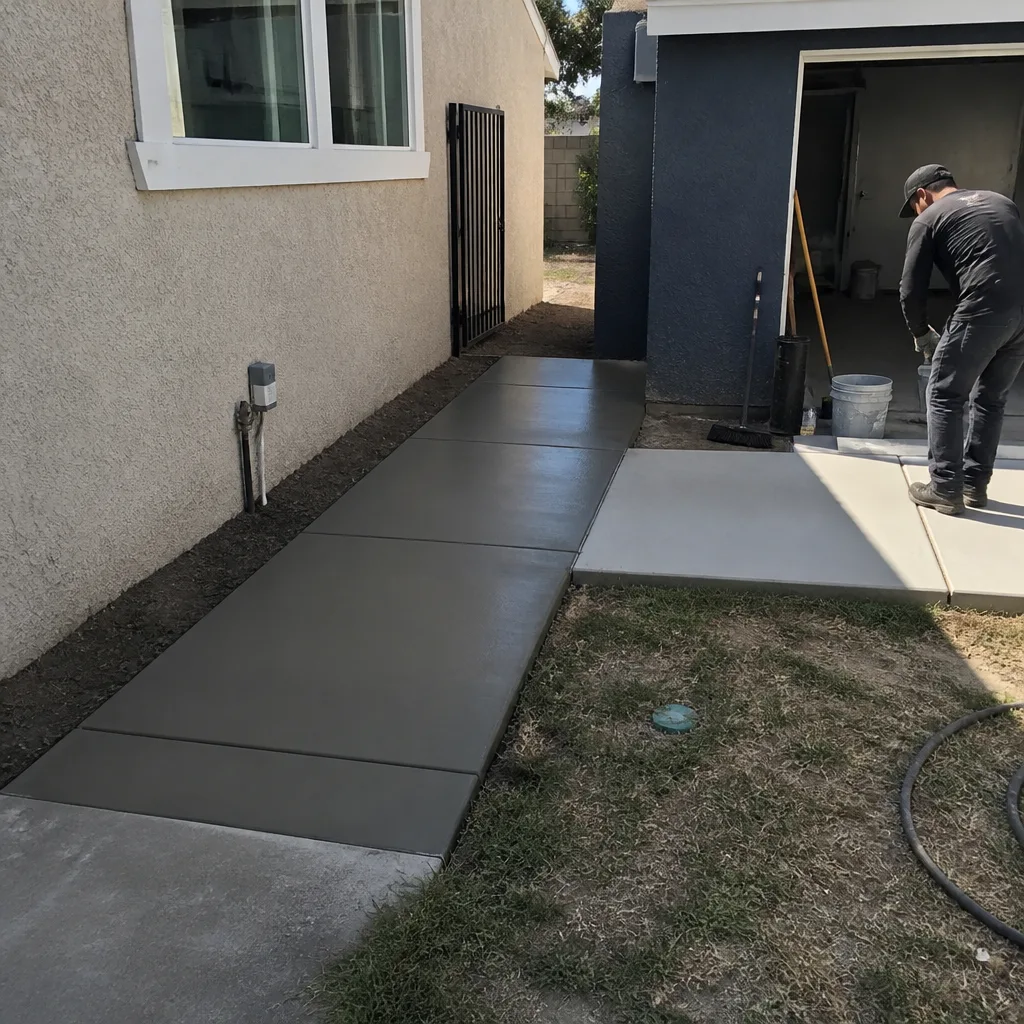 After
After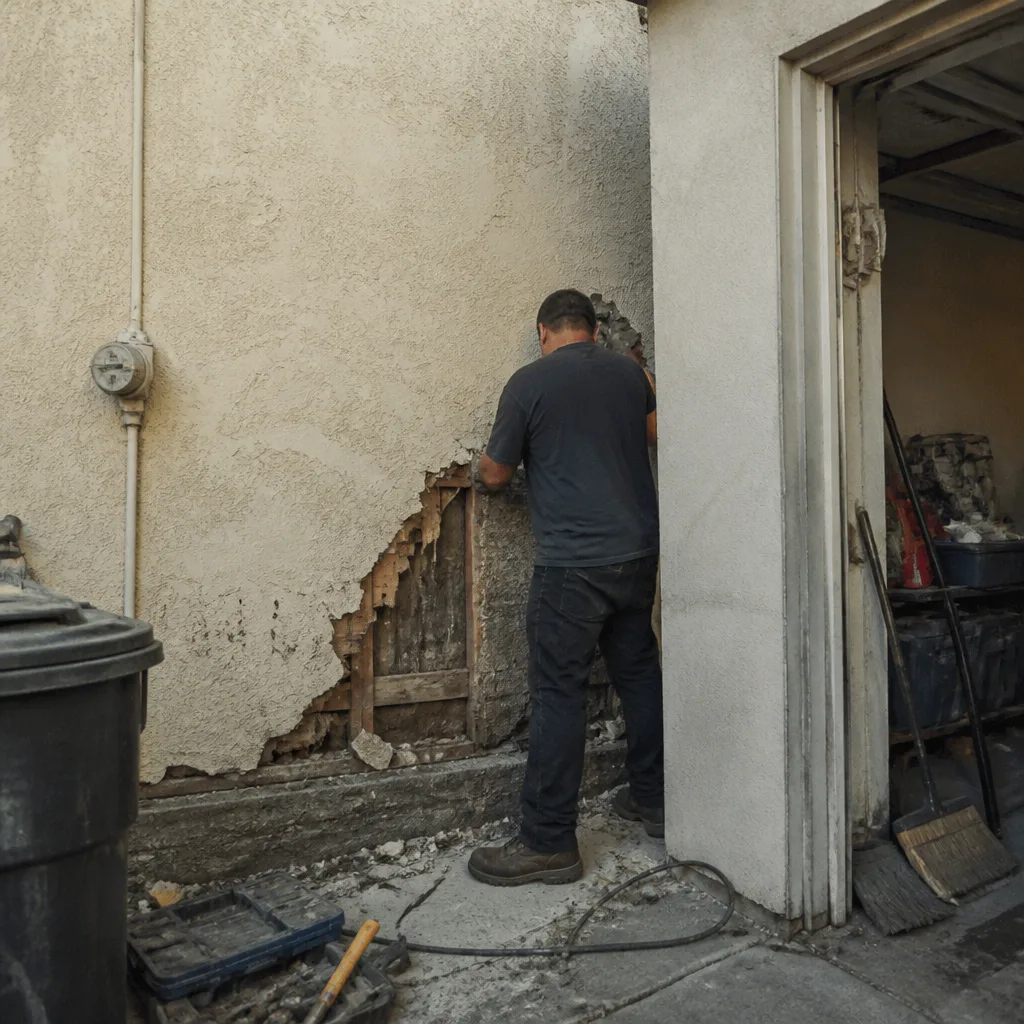 Before
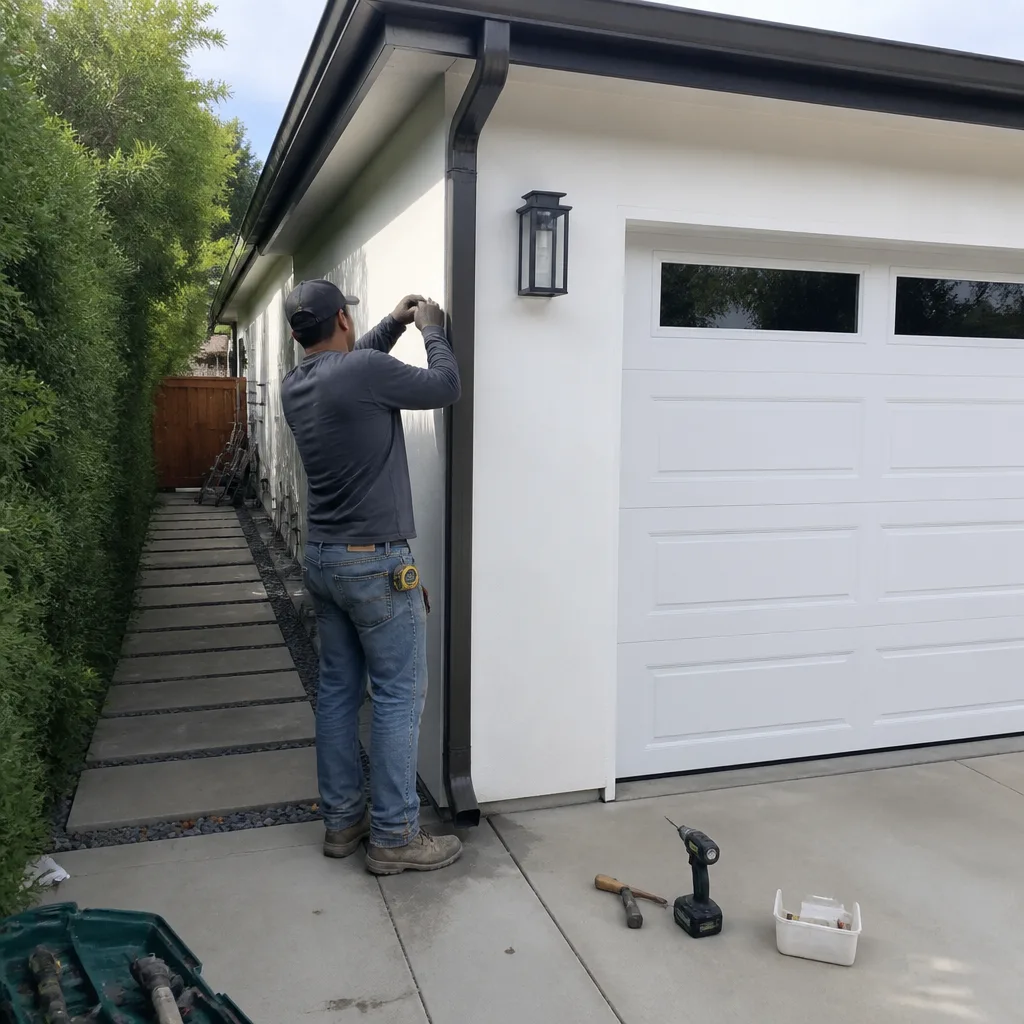 After
After