Last updated October 9, 2026






Free written scope consultation - allowances, timeline, and change-order rules on paper before a single trade is scheduled
Kitchen Remodeling Troubleshooting: Common Problems and How to Fix Them
A countertop template taken before the sink drain location is confirmed by the plumber produces a slab that has to be recut or scrapped. It’s a $1,500 to $4,000 mistake that happens on a significant percentage of kitchen remodels in Los Angeles, and it is entirely sequencing error, not material failure. Most kitchen remodel problems are not mysteries. They cluster around three failure points: rough-in work that fails inspection, cabinet installation that does not account for wall irregularities, and countertop templating done before plumbing is finalized. Knowing which problem you have tells you who is responsible and what the fix costs.
Quick Answer
Most kitchen remodel problems during construction fall into three categories: rough-in failures caught at inspection, cabinet installation defects from walls that are not square or plumb, and countertop templating sequenced incorrectly against plumbing and appliance locations. Each has a specific cause, a specific fix, and a specific party responsible for paying for it. The fastest way to resolve any of them is to stop work, document the condition in writing, and get a corrected scope before any additional labor is performed.
Styles & brands we work with







Table of Contents
- The Six Most Common Kitchen Rough-In Inspection Failures in Los Angeles
- How to Spot Cabinet Installation Defects During the Punch-List Walk
- When Tile Work Fails: Substrate, Setting Material, or Layout
- Countertop Templating and the Plumbing Sequence That Prevents Scrapped Slabs
- The Paper Trail Required to Dispute a Change Order You Believe Is Contractor Error
- Appliance Delivery Timing and How It Interacts with Cabinets and Countertops
- Common Mistakes to Avoid
- Frequently Asked Questions
The Six Most Common Kitchen Rough-In Inspection Failures in Los Angeles
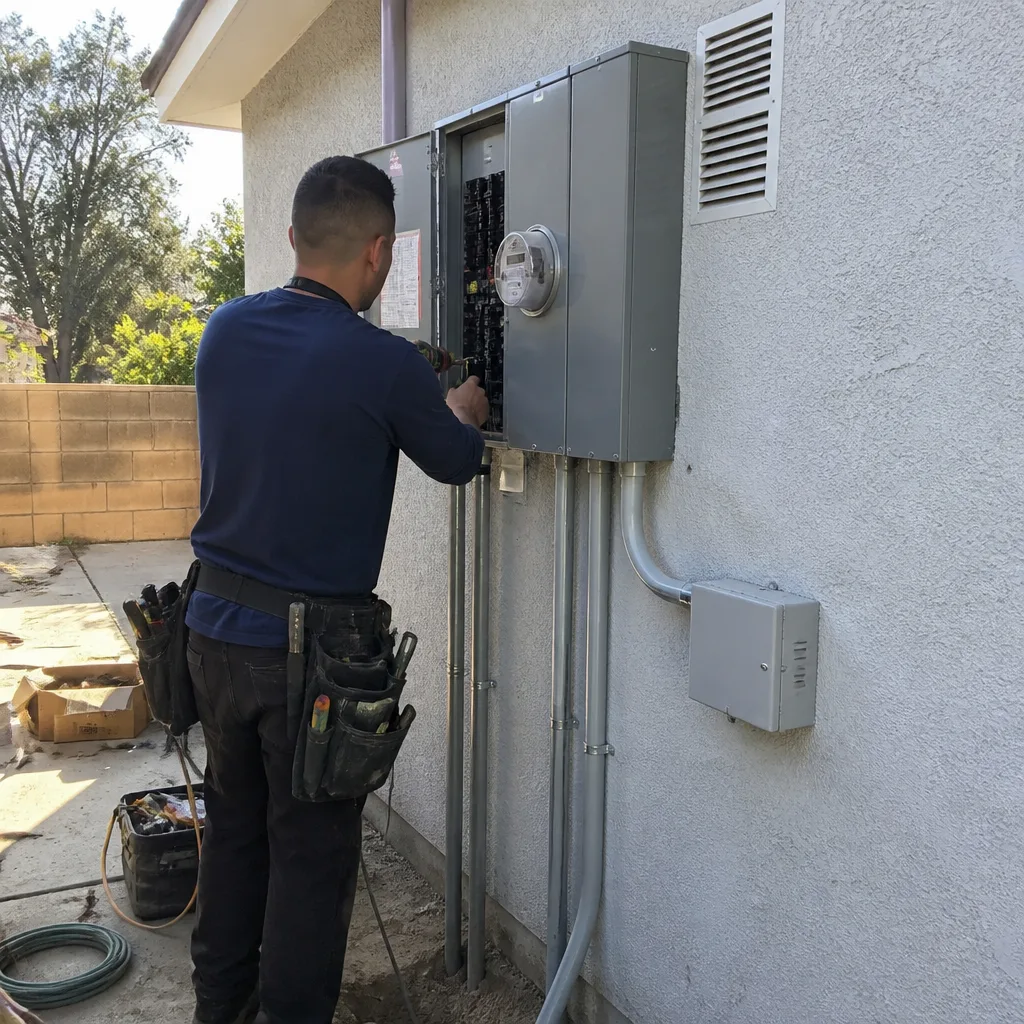
Rough-in is the stage after framing and before drywall, when the walls are open and the plumbing, electrical, and mechanical lines are exposed. In Los Angeles, rough-in inspections are performed by the Los Angeles Department of Building and Safety, and they fail more often than homeowners expect. The failure is rarely because the trades were incompetent. It is usually because the sequence was rushed or because the homeowner changed something after rough-in was already approved.
Here are the six failures we see most often on kitchen remodels in Los Angeles:
- Undersized electrical circuits. A kitchen requires at least two 20-amp small-appliance branch circuits serving countertop receptacles. If the electrician pulled 15-amp circuits or failed to add a dedicated circuit for the microwave, the rough-in inspection will fail. The correction means running new wire while the walls are still open. If the walls are already closed, the cost multiplies.
- Improper GFCI placement. Every countertop receptacle within 6 feet of a sink requires GFCI protection. Inspectors in Los Angeles check this line by line against the plans. A missed GFCI is a quick correction if caught before drywall, and an expensive drywall patch if caught after.
- Vent termination errors. A range hood or vented microwave must terminate outside, never into an attic or a soffit. Los Angeles inspectors are strict on this because of the moisture and grease buildup in the housing stock here. A vent that dead-ends in the attic fails every time.
- Drain slope below code minimum. Kitchen sink drains need a quarter-inch of fall per foot of run. On long runs, especially in older Los Angeles homes with slab foundations, achieving that slope without opening more floor than planned is a real challenge. An inspector who finds a flat or back-pitched section will fail the rough-in and require correction before inspection can be rescheduled.
- Improper framing at the vent hood or island. If you are moving a wall or adding an island, the framing must match the approved plans. A header that is undersized or a load path that was not engineered will fail. This is a structural correction, not a cosmetic one.
- Gas line sizing for the range. A gas range requires a properly sized gas line and shutoff valve. When a homeowner upgrades from a 30-inch range to a 36-inch or 48-inch range, the existing line is often too small. The rough-in fails until the line is properly sized.
What each of these has in common is that the correction is cheap while the walls are open and expensive once they are closed. A written scope that includes a rough-in inspection checkpoint before drywall is the single best protection against paying for the same wall to be opened twice. At Bradford Remodeling, as a General Contractor in Los Angeles, we hold the project at rough-in until the inspector has signed off. That is part of The Garrison Standard, and it is the reason our change orders from inspection corrections are rare.
How to Spot Cabinet Installation Defects During the Punch-List Walk
Cabinet installation defects are rarely visible from across the room. They show up when you open a drawer, close a door, or sight down the face of a run. The punch-list walk is your opportunity to catch them before final payment, and you should treat it as a formal inspection, not a courtesy tour.
Here is what to look for:
- Face alignment across the run. Stand at one end of a cabinet run and sight down the face frames. The faces should read as one continuous plane. A cabinet that is proud by even an eighth of an inch will catch light differently and will read as crooked. The installer corrects this with shims behind the offending cabinet before the countertop goes on. After stone is set, the correction is far more disruptive.
- Drawer slide function under load. Open every drawer, push it closed, then open it again with a hand pressing down on the drawer front. A soft-close slide that clunks or a drawer that binds on one side is usually a sign the cabinet box is racked, meaning it was not shimmed level before it was screwed to the wall. The fix is to release the cabinet, shim it square, and reinstall.
- Wall scribe fit. Where a cabinet run meets a wall, the installer should scribe the filler or the stile to follow the wall’s irregularities. Los Angeles homes, especially those built before 1980, rarely have walls that are straight and plumb. A gap wider than an eighth of an inch at the wall scribe is a defect. The fix is a new filler piece cut to the wall’s actual contour, not a bead of caulk. Caulk is a mask, not a fix.
- Door reveals that are inconsistent. Each door should have an even reveal on all four sides, typically an eighth of an inch. A door that is tight at the top and wide at the bottom means the hinge was mounted incorrectly or the cabinet is out of square. Adjustment at the hinge usually corrects this; if it does not, the cabinet needs to come out.
- Hardware that was drilled off-spec. Drawer pulls and door knobs should be centered and level. A pull that is a quarter-inch off reads as a defect every time you see it. This is not a structural issue but it is a workmanship issue, and it is exactly the kind of item that belongs on the punch list in writing.
KraftMaid and Wellborn cabinetry both ship with installation specifications that define acceptable tolerances. A disciplined installer works to those specifications, not to whatever looked good from the doorway. When we install cabinets at Bradford Remodeling on Kitchen Remodeling in Los Angeles projects, the punch-list walk includes checking each of these items with the homeowner present. You should not have to discover a misaligned drawer three weeks after final payment.
When Tile Work Fails: Substrate, Setting Material, or Layout
Tile failure falls into three categories, and the category determines who pays for the fix. The categories are substrate failure, setting material failure, and layout error. Each has a distinct cause and a distinct correction path.
Substrate failure is the most expensive. The substrate is what the tile is bonded to: the floor underlayment or the wall backer board. In a kitchen, the floor substrate is typically a cement board or an uncoupling membrane over plywood or slab. If the substrate flexes, the tile cracks. If the substrate absorbs moisture, the tile lets go of the wall. In Los Angeles, older homes with raised wood foundations often have floor deflection that exceeds the maximum for tile, and the correct fix is not more thinset, it is structural stiffening. A floor that deflects more than L/360 under load will crack tile reliably. The fix requires removing the tile, reinforcing the floor structure, installing a proper substrate, and retiling.
Setting material failure usually shows up as hollow-sounding tile or tile that pops loose cleanly from the substrate. It is caused by wrong thinset selection, thinset that skinned over before the tile was set, or insufficient coverage. A tile set with less than 80% mortar coverage is a failure waiting to happen. The fix is targeted: remove the failed tile, clean the surface, and reset with the correct mortar at full coverage. This is the cheapest of the three failures to correct, provided it is caught early.
Layout error is not a structural problem, but it is a visible one, and in a kitchen, visibility matters. A layout error is a tile pattern that starts with a sliver cut at one end because the setter did not center the layout, or a pattern that does not square with the cabinets, or a transition that lands in an awkward place at the doorway. The fix is a reset: tile comes up, layout is recalculated, tile goes back down. This is a workmanship issue, and it should be corrected by the installer at no additional cost.
The way to determine which failure you have is to tap the tile. Hollow sound means setting material failure. A visible crack that runs through the tile and the grout line in a straight line usually means substrate movement. A pattern that offends the eye is layout. Each has a different responsible party, and the responsible party should be established in writing before any corrective work starts.
Countertop Templating and the Plumbing Sequence That Prevents Scrapped Slabs
The countertop template is the single most consequential measurement event in a kitchen remodel. The template is a physical or digital pattern of the cabinet run that the fabricator uses to cut the stone. If the template is taken before the sink drain location is confirmed by the plumber, the faucet holes, the sink cutout, or both can land in the wrong position, and the slab has to be recut or scrapped. On a Cambria or Caesarstone top, that is a $1,500 to $4,000 error depending on material and edge profile.
The correct sequence is not complicated, but it is specific, and it is the sequence that disciplined contractors in Los Angeles use without exception:
- Rough-in plumbing is completed and inspected. The sink drain and supply lines are in their final positions inside the cabinet. The plumber has signed off.
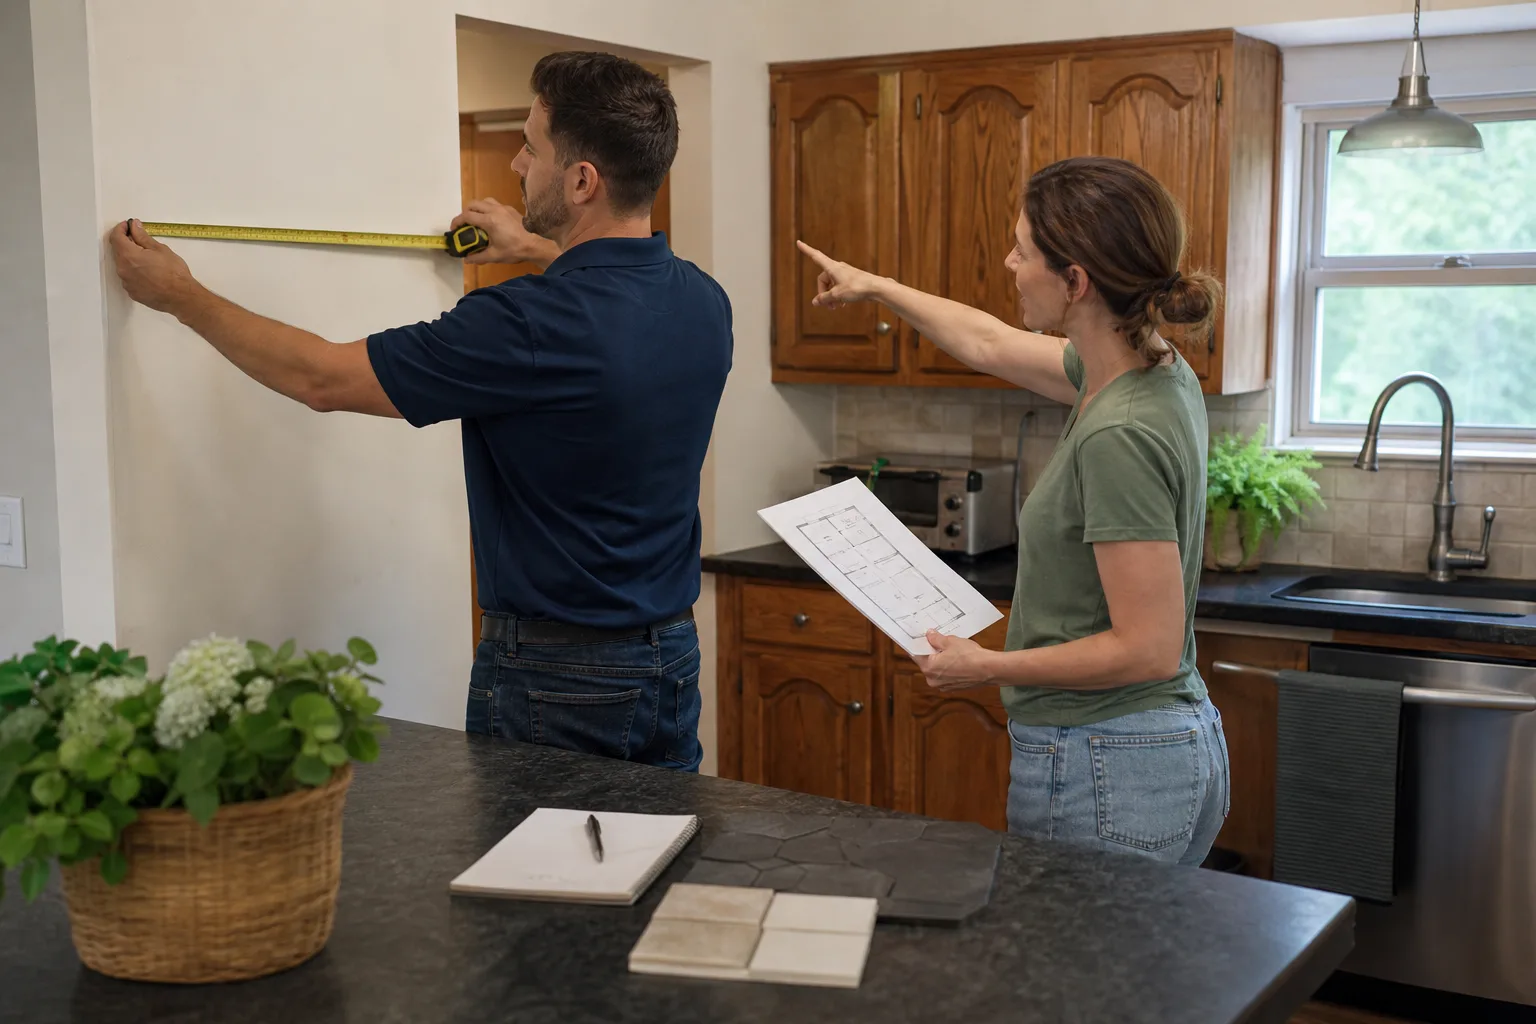
- Cabinets are installed and locked in place. The base cabinets are shimmed, screwed to the wall, and joined to each other. The countertop fabricator templates off the installed cabinets, not the plan drawings.
- The sink and faucet are physically on site. You do not template without the actual sink and faucet in hand. Undermount sinks have cutout templates and reveal specifications that vary by manufacturer. The fabricator needs the physical sink, not a model number.
- The fabricator takes the template and confirms the drain centerline with the plumber’s rough-in dimension. This is the step that gets skipped most often. The templater confirms the sink cutout against the actual drain stub-out, not against the plan.
- Stone goes to fabrication. No plumbing changes happen after this point. No moving the drain, no changing the faucet. The die is cast.
When this sequence is followed, the slab fits the first time. When it is not, the homeowner is left negotiating over whether the fabricator or the plumber or the contractor eats the cost. The Garrison Standard at Bradford Remodeling on Home Remodeling in Los Angeles puts the sequencing in writing before demolition starts. Every trade knows the order of operations, and no template is taken until the plumber’s rough-in is confirmed in writing. That is not bureaucracy. That is the difference between a slab that fits and a $4,000 recut.
The Paper Trail Required to Dispute a Change Order You Believe Is Contractor Error
A change order is a written document that modifies the original scope of work and the original price. A legitimate change order arises when the homeowner asks for something different or when the site reveals a condition that no reasonable contractor could have anticipated. A change order that is actually contractor error is not a legitimate change order, and you do not have to pay for it. But you do have to prove it, and proof in construction is paper.
The paper trail that protects you starts before the first change order is ever signed. Here is what to keep and when to produce it:
- The original written scope of work. This is the document that defines what was included for what price. If the contract says “install dishwasher connection” and the plumber says the dishwasher connection was not in his bid, the written scope answers the question. Every homeowner in Los Angeles should insist on a scope that is specific enough that a third party could read it and know what was promised.
- The approved plans and any plan revisions. If the change order references a condition that was visible on the plans, it is contractor error, not a hidden condition. The plans are evidence.
- The written change order itself. The change order should state the specific change, the specific price, and the specific reason. A change order that says “miscellaneous plumbing corrections: $2,300” is not documentation. A change order that says “reroute drain line to match approved plan: $1,150” is. The first is how contractors hide mistakes. The second is how work gets corrected.
- Photographs with dates. If the contractor claims a wall was out of plumb and needed extra framing, a photograph of the wall before and after the correction establishes the facts. Timestamped photos taken during construction are the cheapest insurance a homeowner can buy.
- Written communications. Text messages and emails that reference the issue are evidence. A text from the contractor saying “we need to move the drain because it’s in the wrong spot” is an admission of responsibility. Keep it.
When you have the paper, the dispute is a conversation about facts. When you do not, it is a negotiation about feelings, and the homeowner loses that negotiation more often than not. The Garrison Code at Bradford Remodeling requires that every change order be issued in writing, with the reason stated, before any additional work is performed. No verbal side agreements, no surprise invoices. The paper is the protection, and it is the one thing that cannot be retrofitted after the job goes sideways.
Appliance Delivery Timing and How It Interacts with Cabinets and Countertops
Appliance delivery timing is the most common source of mid-project delay that homeowners do not see coming, as our Seasonal Construction Care for Los Angeles guide also addresses. The refrigerator arrives two weeks early and sits in the garage. The range hood arrives late and the countertop template gets pushed. The dishwasher is backordered and the plumber cannot final the rough-in. Each of these has a ripple effect that costs time and, in the worst cases, money.
The sequence that works in Los Angeles, where delivery windows and traffic both run unpredictable, is to work backwards from the installation dates:
- Order appliances before demolition begins. The lead times on ranges, refrigerators, and hoods in Los Angeles run from 2 weeks to 16 weeks depending on brand and configuration. Ordering at the start of the remodel is not early. It is the only way the appliances arrive when the kitchen is ready for them.
- Take delivery of the sink and faucet before cabinet installation. As covered in the templating section, the fabricator needs the physical sink and faucet on site at template time. These are small items with short lead times, but a backordered faucet can hold the entire countertop sequence hostage.
- Have the range and hood physically on site for the countertop template. The fabricator templates the countertop to the actual range dimensions and the actual hood location. A range that is a half-inch wider than spec changes the countertop cut. A hood that lands an inch lower than planned changes the backsplash layout.
- Do not let the refrigerator block the work path. A 36-inch refrigerator in a Los Angeles kitchen can block the one path between the garage and the job site. Schedule refrigerator delivery for after the heavy work is done, not before.
- Confirm the electrical and gas rough-in against the actual appliances before drywall closes. The spec sheet for the range you ordered is the source of truth, not the plan drawing that was drafted six months earlier. Verify the receptacle location, the gas stub-out height, and the vent duct connection point against the actual appliance before the walls close.
- Closing the walls before the rough-in inspection passes. In Los Angeles, covering uninspected work is a violation that can trigger a stop-work order. The inspector has the authority to require the drywall to come back down. Always hold at rough-in until the inspector signs.
- Allowing the countertop template before the sink and faucet are on site. This is the $1,500 to $4,000 mistake that this guide opened with. It is entirely avoidable with a written sequence, and it remains one of the most common unforced errors in kitchen remodeling in Los Angeles.
- Accepting a verbal change order. A verbal change order is a dispute waiting to happen. If it is not in writing with a price and a reason, it is not a change order. It is a conversation, and conversations do not hold up when the invoice arrives.
- Hiding the plans from the trades. The electrician, plumber, and cabinet installer need the approved plans on site. When the plans are on the homeowner’s kitchen table and not on the job site, the work gets done from memory, and memory is how rough-in failures happen.
- Ignoring the punch list because the kitchen looks finished. Most cabinet defects are discovered the day the punch list is written. If you skip the punch-list walk because the kitchen looks beautiful from the doorway, you will discover the misaligned drawer after the contractor is gone and the final payment is processed.
- Ordering appliances late and expecting the rest of the job to wait gracefully. The appliance lead time in Los Angeles is the longest single item in the remodel. When appliances are ordered late, the entire project stops and restarts, and the restart costs time that no contractor can make up.
When appliance timing is managed as part of the construction sequence rather than as a separate errand, the mid-project delays mostly disappear. The contractor’s job is to coordinate these deliveries, not to ask the homeowner to manage them. At Bradford Remodeling, the appliance delivery schedule is part of the written project plan, and the plan is updated weekly. When we say the project is on schedule, the schedule includes the appliances.
Common Mistakes to Avoid
When to Call a Professional
Some kitchen remodel problems are DIY-correctable. Most of the ones in this guide are not. If your rough-in has failed inspection, a licensed contractor and a licensed trade are required to correct the work and pull the reinspection. If your tile floor is cracking along a structural line, the fix involves floor framing, not a YouTube tutorial. If your cabinet run is out of alignment after installation, the correction means releasing the cabinets from the wall and re-shimming, which is a professional installer’s job. If you have a change order dispute that you believe is contractor error, you need a written scope and the documentation to back it, and if you do not have that, the next best step is to get a professional evaluation of the work before you pay. Bradford Remodeling home offers free estimates in Los Angeles, with a written price before any work starts. Call (903) 568-7222 to have one of our project managers evaluate your kitchen remodel problem and give you a straight answer about what the fix costs and who should pay for it.
Frequently Asked Questions
A countertop template error typically costs between $1,500 and $4,000 to correct, depending on the material, the edge profile, and whether the slab can be recut or must be scrapped and refabricated. If the error is the result of the template being taken before the plumbing rough-in was confirmed, the responsibility falls on whoever sequenced the work incorrectly, which is usually the general contractor. Call (903) 568-7222 for a written assessment of who is responsible and what the correction will cost.
Undersized electrical circuits are the most common kitchen rough-in failure in Los Angeles, followed closely by improper GFCI placement. The Los Angeles Department of Building and Safety enforces the California Electrical Code, which requires two 20-amp small-appliance branch circuits serving the countertop receptacles. A dedicated circuit for the microwave and GFCI protection on all countertop receptacles within six feet of a sink are also required and frequently missed.
The responsible party depends on the cause. A layout error is the installer’s responsibility, and the corrective work should be done at no additional cost. A setting material failure is also the installer’s responsibility, assuming the installer selected and mixed the material. A substrate failure, where the floor flexes and cracks the tile, may be the responsibility of whoever designed the floor system, which could be the original builder, the remodel contractor, or the homeowner who declined a needed structural correction. The cause should be established in writing before any corrective work begins.
Yes, a change order that is actually contractor error is not a legitimate change order, and the homeowner is not obligated to pay it. The key is documentation: the original written scope of work, the approved plans, the written change order with its stated reason, timestamped photographs, and written communications. When the paper trail shows the work was in the original scope or visible on the plans, the correction is the contractor’s responsibility.
Order appliances before demolition begins. Lead times in Los Angeles run from two weeks to sixteen weeks depending on brand and configuration, and the cabinet installation and countertop templating both depend on the actual appliance dimensions. The range and hood should be physically on site for the countertop template. The refrigerator should be scheduled for delivery after the heavy work is done.
Yes. Every completed kitchen remodel from Bradford Remodeling carries the 365-Day Done Right Promise, a written guarantee that if the work fails inside of one year, Bradford returns and corrects it at no charge. The guarantee is delivered in writing at job close, along with a documented scope of work and a clean site. Call (903) 568-7222 to schedule a free estimate and get your price in writing before any work starts.
The Bottom Line

Kitchen remodel problems are not random. They cluster around rough-in work, cabinet installation, and countertop sequencing, and each has a known cause and a known fix. The homeowner’s protection is paper: a written scope, a written change order process, a written sequence that puts the plumbing rough-in before the countertop template, and a written guarantee that survives the final payment. See our more guides & resources for additional protection strategies. In Los Angeles, where the building code is specific and the inspectors are thorough, the discipline of the contractor is what separates a kitchen that is finished from a kitchen that is finished and documented. A contractor operating under The Garrison Standard puts the price and the guarantee in writing before the first tool comes out. That is the fix for the most expensive problem of all: the remodel that was never squared away.
Written by Curtis Lane, Owner at Bradford Remodeling, serving Los Angeles since 2004.
See the difference
 Before
 After
After Before
 After
After Before
 After
After